
Keeping your subscriber list updated is important for effective email marketing. By syncing new Baserow rows with Mailchimp, you ensure that your mailing list reflects the most current information available.
This ensures that your contact database remains updated without manual intervention, saving you time and minimizing the risk of errors. Whether you’re managing customer information, leads, or any other data in Baserow, syncing new entries to Mailchimp boosts your email marketing efforts and strengthens your communication strategy.
You can easily connect Baserow to apps and services, and automate repetitive tasks without writing code. From capturing leads to nurturing relationships, this integration enhances your email marketing strategy, enabling you to reach your audience effectively.
What we’ll do
In this tutorial, we’ll walk you through the process of adding subscribers to Mailchimp.
We’ll cover the following steps:
- Set up your Baserow database
- Create a new Make scenario
- Add subscriber data to database
- Test and schedule scenario
This scenario watches Mailchimp and triggers when a new subscriber is added. Isn’t that cool? Let’s get started.
The first task before we begin the automation is to define all of the available fields in the table where the data will be populated.
Prerequisites
To follow this article, you’ll need the following:
Let’s dive in!
Sync Baserow tables with Make
1. Set up your Baserow database
Log into your existing Baserow account or create a new account if you don’t have one already.
Once you log in, you can access the dashboard to add workspaces and databases. You can choose to work with an existing workspace, database, or table, or set up a new workspace from scratch.
In this tutorial, we will set up a new workspace and add a database to the workspace.
-
To create a new workspace, simply click on the + Create workspace button. Then, click on Add workspace.
If you’re just starting with Baserow, we recommend you read our support article on how to create a workspace and how to add collaborators to a workspace.
-
Now that the workspace is set up, you can either create a database from scratch or choose a template from our template library. In this tutorial, we’ll use a template from the library.
-
Click on the + Create new button to start creating a new database.
-
Select the “From template” option to add a database from a template.
-
In our daily work lives, we often find ourselves juggling tasks and data in our CRM databases. Input “Lightweight CRM” in the template search box.
-
Click the Use this template button to add the template to the workspace.

That’s it! we’ve successfully created a new database where you can populate, manage, and organize data in Baserow.
Now, let’s proceed to automate saving subscribers to the database.
2. Create a new Make scenario
Make can monitor Mailchimp in real-time. This will automatically process incoming subscribers and add the data to the selected fields to the database.
To get started, create a new Make.com account or log into your existing account.
Now you need to add the first module to the scenario. Go to Scenarios and create a new scenario. A Make scenario is comprised of a series of modules that indicate how data should be transferred and transformed between apps/services.
-
Select the app that will trigger your scenario. Click the first “
+” sign and select Mailchimp as the trigger -
Choose one of the actions from the list. In this case, select the Watch Subscribers action. This triggers the workflow when a new subscriber joins a list or is updated.
-
Create a connection or select one of your previously configured connections from the dropdown options. For more information on how to create a connection to Mailchimp, see the online Help.

Next, configure the fields. For this tutorial, we are working with these values:
- Watch Subscibers: New subscriber joins a list
- List ID
- Status: Subscribed
- VIP only: No
- Email Type: HTML
- Limit: 2
Click the OK button then choose where you would like Make to start processing all subscribers. For this tutorial, we will select From now on, then click OK.
Next, let’s connect Baserow.
3. Add subscriber data to database
We will export the subscriber data to the database and run a workflow when data is received.
Like with the Mailchimp module, we need to add a Baserow connection.
-
Select the app that will trigger the scenario. Click the “
+” sign and select the Baserow app -
Choose one of the actions from the list. In this case, select the Create a row action.
-
Create a connection or select one of your previously configured connections from the dropdown options. You will need to enter your Baserow API URL retrieved from your API documentation. If you’re using Baserow Cloud (/), you can leave the default URL.
You will also need to enter your Baserow API token. It can be found by clicking on your account in the top left corner -> Settings -> API tokens. For more information on how to find your database token, see this support article.
-
Enter the table ID where the row must be created in. You can find the ID by clicking on the three dots next to the table. It’s the number between brackets. For more information on how to find your Baserow table ID, see the support article.

-
Next, map the results from the Mailchimp module to Baserow.
Click ‘OK’. Run Once then check your table to see if the correct data was added.
4. Test & schedule scenario
Your scenario is set up and ready to go, but we still need to run a quick test. Run the scenario, you will see that Make will load the subscriber and store the data in your Baserow database.
Check your table to see if the correct data was added.
You can specify when and how frequently an activated scenario runs. To do so, go to the scenario detail page and locate the Schedule tab.
To set the schedule, change the Run Scenario and set the time when it should run. Click on the clock icon and set your preferred schedule.
Save and activate the scenario by toggling on the switch at the bottom left corner:
When you execute the scenario, whenever a subscriber is added, the changes are immediately reflected in the corresponding row in the database. This allows you to maintain synchronization between Mailchimp and the database with minimal manual work.

Summary
Integrating Baserow with Mailchimp offers a seamless solution for adding subscribers to your email list. By leveraging the power of automation, you can streamline your workflow and ensure that new contacts are promptly added to your marketing campaigns. Whether you’re managing a small business or running a large-scale operation, this integration provides efficiency and convenience, saving you time and effort in the process.
Get started today with Baserow workflows to save time!
Other useful resources
The following articles may also be helpful:
- How to transform any spreadsheet into a database
- Databases vs. spreadsheets: Which is better for your business?
- Building your own database without technical experience
- How to model your Baserow data
If you run into an issue while following this tutorial, feel free to ask for help in the Baserow community.

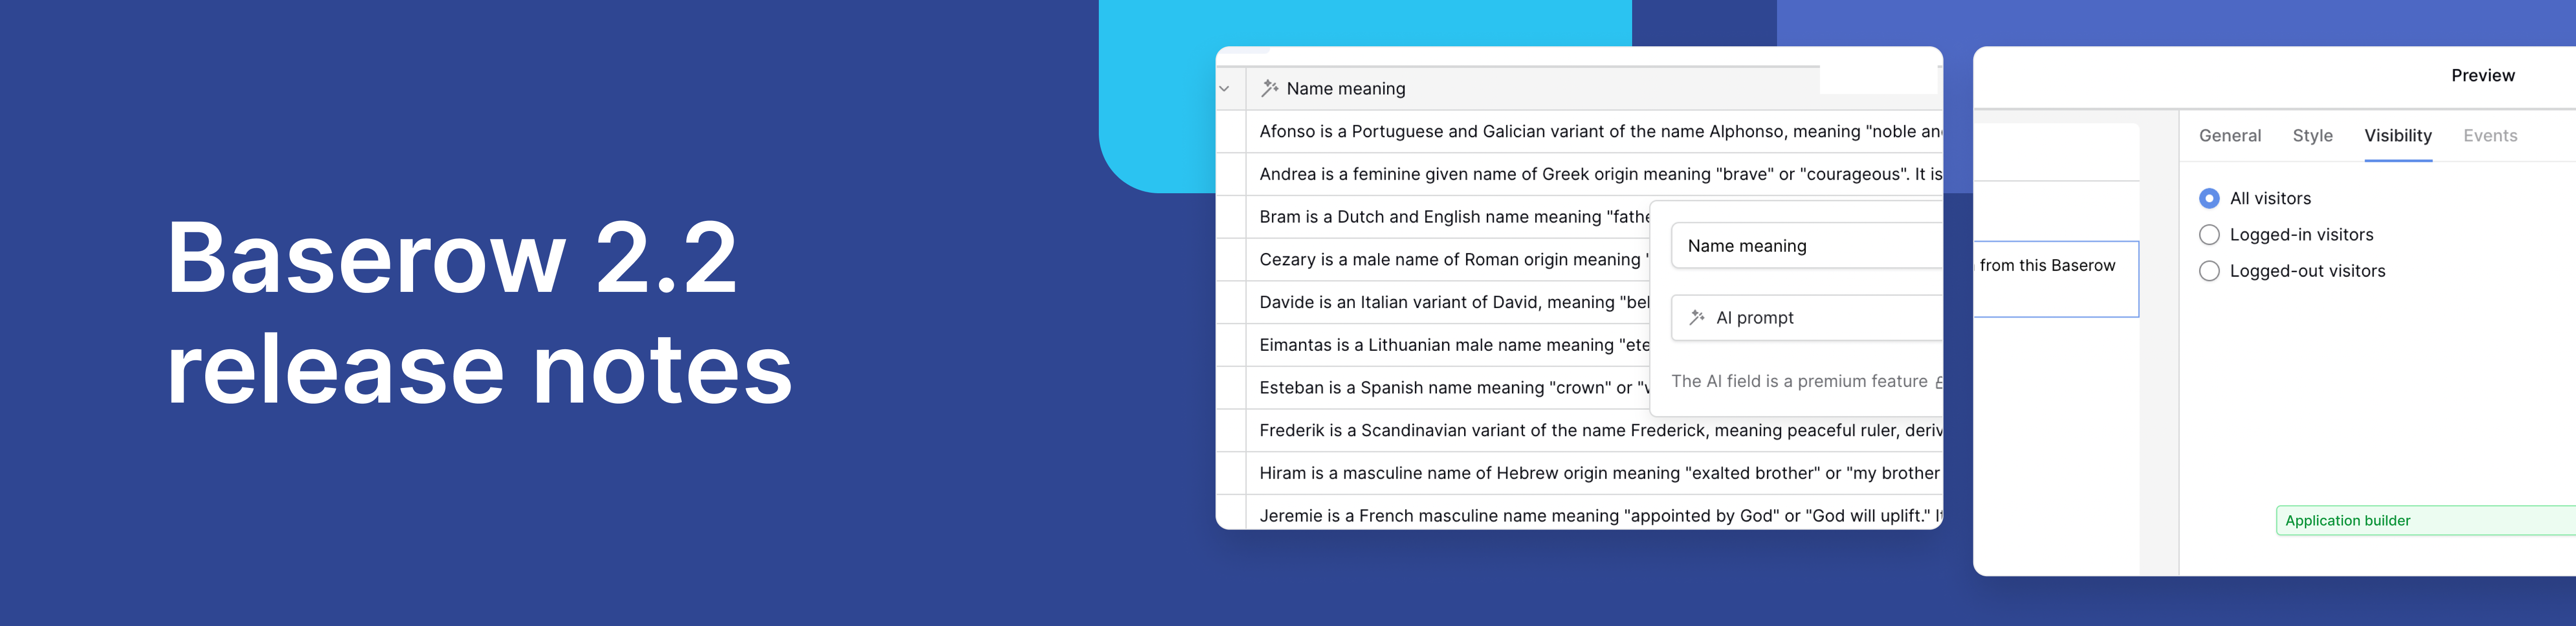
Baserow 2.2 introduces AI app building with Kuma, view-level permissions, edit rows via forms, and more. Explore all updates.

Discover how Airtable and Baserow compare in features, flexibility, speed, and scalability. Compare pricing plans and hidden costs to make an informed decision!

Explore the best open-source software alternatives to proprietary products. Discover OSS tools, licenses, and use cases with our updated directory.