Configure element visibility (Permissions)
While Page Visibility controls access to an entire screen, Element Visibility allows you to show or hide individual components on that screen. This is essential for creating dynamic interfaces; for example, showing a “Login” button to guests but a “Log Out” button to authenticated users.
This guide covers how to control who sees specific buttons, tables, and content based on login status and user roles.
Overview
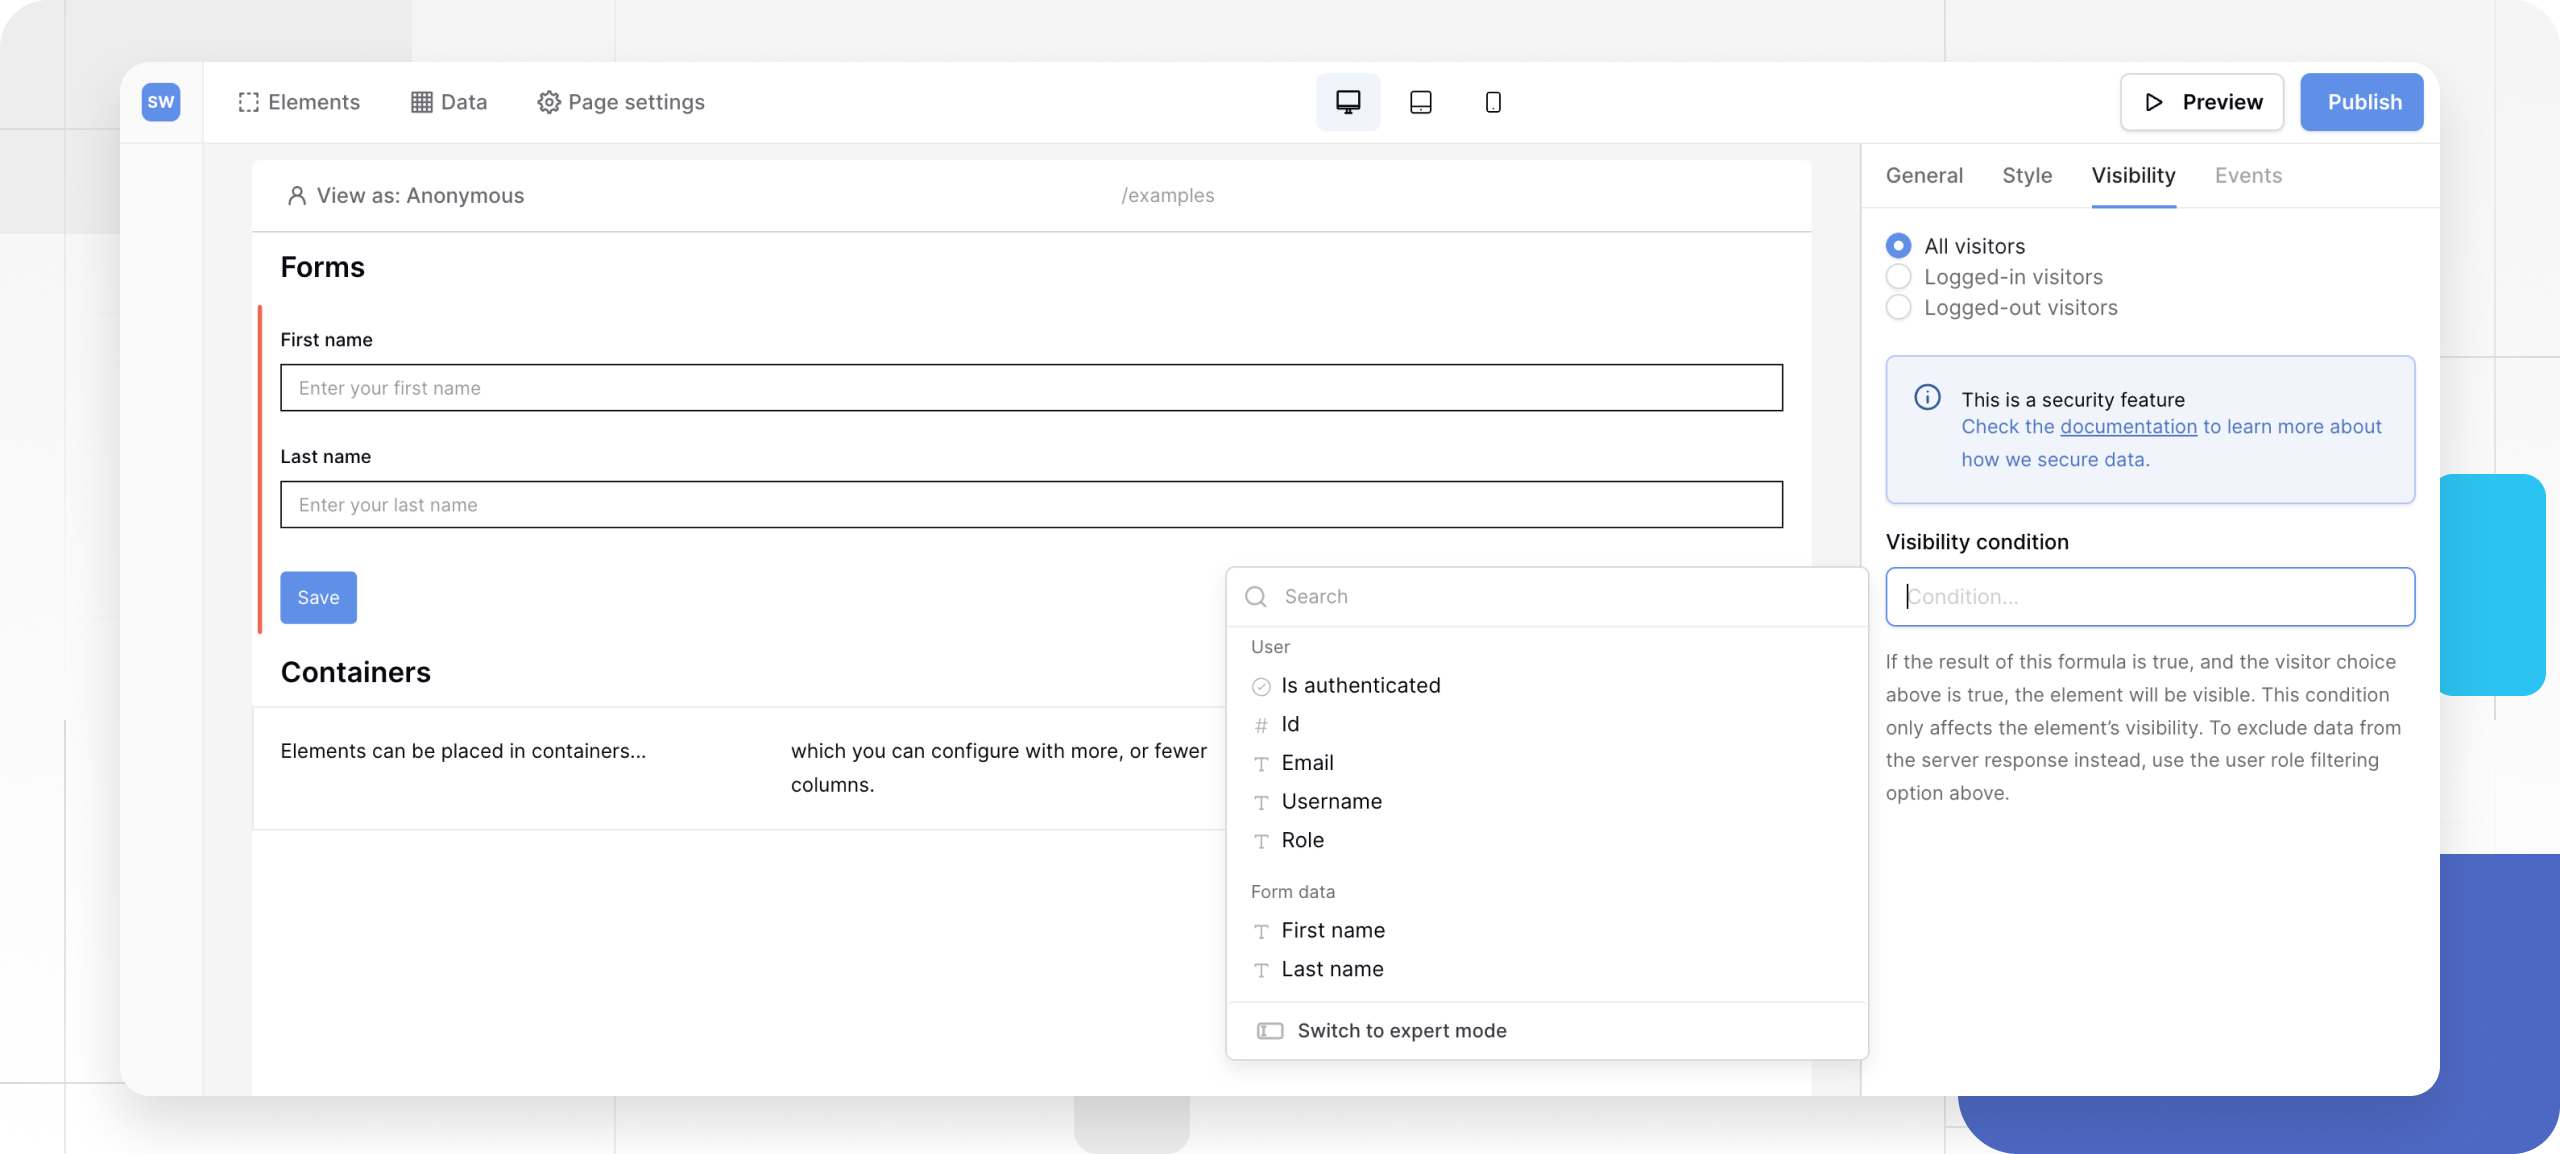
The visibility tab allows you to define which user groups can view specific elements in your application according to a user’s authentication status.
- Granularity: You can set visibility rules for every single element on your canvas.
- Login Status: You can show elements to everyone, only logged-in users, or only logged-out visitors.
- Role-Based Access: If a user is logged in, you can further restrict access based on their assigned role (e.g., “Admin” vs. “Viewer”).
- Security: Hiding a data element (like a Table) automatically secures the backend API. Unauthorized users cannot fetch the data even if they try to bypass the UI.
Learn more about page visibility to control which user groups can see specific pages in your application.
Configure basic visibility
To define who can see an element:
- Select the element on your canvas (e.g., a Button or Text block).
- Click the Visibility tab in the properties panel on the right.
- Select one of the three visibility levels:
| Option | Description | Use Case |
|---|---|---|
| All visitors | Visible to everyone. | Public headers, generic information. |
| Logged-in visitors | Visible only to authenticated users. | “My Profile” buttons, private data tables. |
| Logged-out visitors | Visible only to guests. | “Sign Up” or “Login” buttons. |
Configure role-based access (RBAC)
For more advanced control, you can restrict elements to specific user roles (e.g., allowing only “Managers” to see a “Delete” button).

Step 1: Define roles in your database
Before configuring the frontend, your user data must have roles defined.
- Go to your Users Table in the database.
- Create a Single Select field named “Role”.
- Add options for your roles (e.g.,
Admin,Editor,Viewer). - Assign a role to each user row.
Step 2: Connect roles to User Source
- In the Application Builder, go to Settings → User Sources.
- Edit your user source.
- Locate the Role field setting and map it to the “Role” column you created in Step 1.
Step 3: Apply rules to elements
- Select the element you want to restrict.
- Go to the Visibility tab.
- Select Logged-in visitors.
- Under the Roles section, choose your logic:
- All roles: Visible to any logged-in user.
- Allow roles: Only the selected roles (e.g.,
Admin) can see this. - Disallow roles: Everyone except the selected roles can see this.
Security and API enforcement
We’re constantly enhancing the security features of the Application Builder.
Baserow ensures that “Hidden” means “Secure.” Visibility settings are enforced on the backend, not just the frontend (CSS).
- Data Security: If you hide a Table element from a specific role, Baserow’s API will not return that table’s data to the user’s browser. Even if a user inspects the network traffic, the data is not there.
- Action Security: If you hide a “Update Row” button from a user, the API endpoint to update that row is blocked for that user session.
In a nutshell, securing the API is inherent to how you design your application; by controlling what data is available to users, you define what the API exposes.
Frequently asked questions (FAQ)
What happens if a user has no role assigned?
If you use “Allow roles” logic (e.g., Allow Admin), a user with no role will not see the element. If you use “Disallow roles” logic (e.g., Disallow Viewer), a user with no role will see the element (because they are not a Viewer).
Can I hide a container to hide all its children?
Yes. If you place multiple elements inside a Column or Container element and hide the parent, all child elements inside it inherit that visibility rule. This is much faster than configuring every single button individually.
Does this work with page visibility?
Yes. Page Visibility acts as the “Gate” to the URL. Element Visibility acts as the “Filter” for the content on that page. If a user cannot access the Page, they definitely cannot see the Elements.
Related content
Still need help? If you’re looking for something else, please feel free to make recommendations or ask us questions; we’re ready to assist you.
- Ask the Baserow community
- Contact support for questions about Baserow or help with your account.