Table configuration and customization
Table settings let you organize, secure, and automate your data without changing the actual content or structure.
Customize table behavior, appearance, and organization with renaming, reordering, webhooks, permissions, and export options. Access all settings through the table menu in your sidebar.
Overview
Table configuration controls how your tables behave, who can access them, and how they integrate with other systems. Unlike field-level settings that affect individual columns, table settings apply to the entire table and its data.
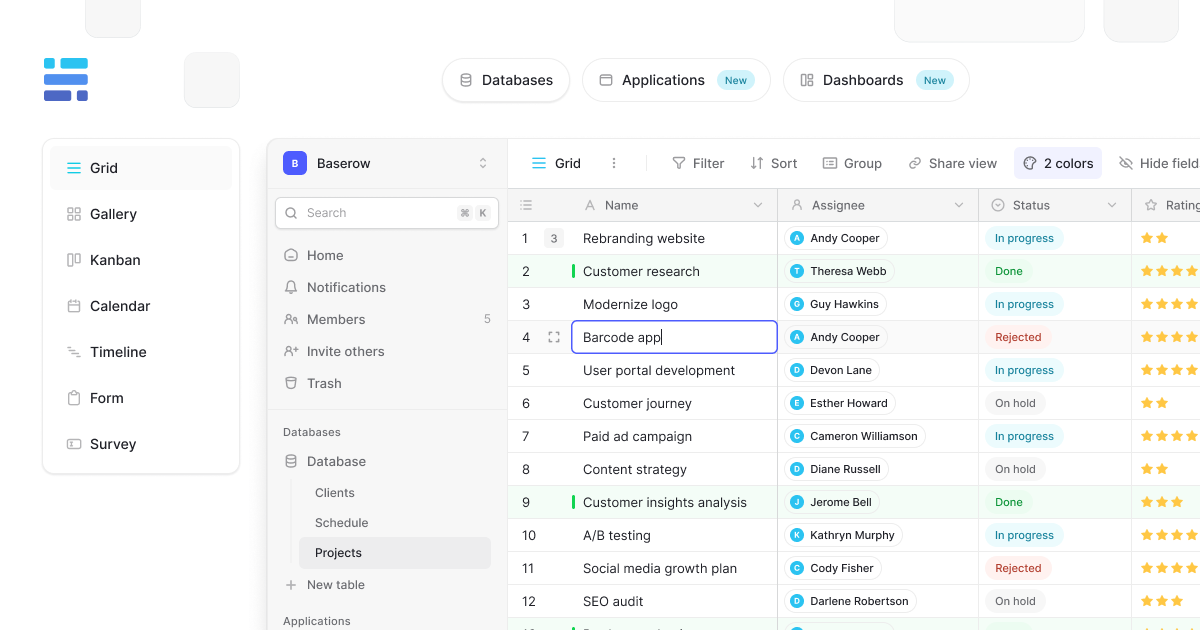
You’ll find these options in the three-dot menu (⋮) next to each table name in your sidebar.
Accessing table settings
All table configuration options are available through the table menu.
Click the three-dot icon (⋮) next to any table name in the sidebar to reveal options including rename, duplicate, delete, export, webhooks, and permissions management.
Some settings, like reordering, work directly through drag-and-drop in the sidebar without opening a menu.
Organizing your tables
Rename tables
Give tables clear, descriptive names that indicate their purpose and content. This becomes especially important in databases with multiple similar tables where generic names like “Table 1” create confusion. Good naming helps team members quickly identify the right table and makes references in documentation more meaningful.
To rename a table:
- Click the
⋮icon next to the table name in the sidebar - Select “Rename,” and enter your new name.
Table names can be changed anytime without affecting data, views, or relationships with other tables.
Reorder tables in sidebar
Arrange tables in the order that matches your workflow by dragging and dropping them in the sidebar. Position frequently used tables at the top for quick access, group related tables together for logical organization, and separate active projects from archived data.
Click and hold on a table name, then drag it to your desired position and release.
Table operations
Duplicate tables
Duplicating creates an exact copy of a table’s structure and data, perfect for creating templates, testing changes without affecting the original, or setting up similar tables for different teams or time periods.
Access this option from the table menu (⋮), and the duplicate appears immediately below the original.
Duplication copies all fields, data, views, filters, sorts, and formulas. However, it doesn’t copy row comments, revision history, or webhook configurations. After duplicating, customize the copy as needed without affecting the original table.
Learn more: Duplicate a table
Delete tables
Remove tables you no longer need to keep your database organized and reduce clutter. Deleted tables move to the trash with a recovery window before permanent deletion.
Access deletion through the table menu (⋮), confirm your choice, and use the 5-second undo window if you change your mind immediately.
Deleting a table removes it for all collaborators, not just you. If the table contains data others need, consider exporting it first or checking with your team before deleting.
Learn more: Delete a table
Data management features
Export tables
Export table data for backups, analysis in external tools, or sharing with people outside Baserow. Available formats include CSV for universal compatibility with spreadsheet applications, and JSON for programmatic use and data integration. Access export options through the table menu or view settings.
Learn more: Export tables
Multiple cell paste
Speed up data entry by copying and pasting multiple cells at once from spreadsheets or other sources.
Select cells in Excel or Google Sheets, copy them with Ctrl/Cmd + C, click into your target cell in Baserow, and paste with Ctrl/Cmd + V. Baserow intelligently maps pasted data to your table structure, filling cells in the same pattern as your copied selection.
This is useful for bulk updates, importing small datasets without formal import procedures, and quickly filling in data from external sources. Pasted data respects field types; numbers go into number fields, dates into date fields, etc.
Learn more: Paste data into cells
Automation and integration
Webhooks
Webhooks send real-time notifications to external systems when data changes in your table. Use them to trigger automations when new rows are created, send alerts when specific fields are updated, sync data to external databases automatically, or connect Baserow with thousands of apps through platforms like Zapier or Make.
Configure webhooks through the table menu by specifying the URL to notify, choosing which events trigger notifications (row created, updated, deleted), and optionally filtering which rows should trigger webhooks based on field values. Webhooks run automatically in the background, requiring no manual intervention once configured.
Learn more: Webhooks in Baserow
Date dependency
Dependencies work across rows within the same table, helping maintain logical schedules without manual date adjustments. Configure relationships between rows where dates automatically adjust based on dependencies. This is useful for project management where task delays cascade through dependent activities.
Learn more: Configure automated date relationships. Learn more about setting up date dependency
Access control
Table-level permissions
Control who can view and edit specific tables within your database using table-level permissions. This allows you to share some tables with certain team members while restricting access to sensitive information in other tables within the same database. Permissions cascade from the workspace level, but table-level settings provide additional granularity.
Learn more: Assign roles at table level
Frequently asked questions
Can I customize table settings for different views?
Table settings apply to the entire table across all views. However, view-specific settings like filters, sorts, and field visibility are configured separately through view customization. Use views to create different perspectives on the same table data.
What happens to webhooks when I duplicate a table?
Webhooks are not duplicated along with tables. After duplicating, you’ll need to manually reconfigure webhooks for the new table if you want similar automation. This prevents accidental duplicate notifications to the same external systems.
Can I undo a table deletion?
Yes, within 5 seconds of deletion, an undo button appears at the bottom-right of your screen. After that window, deleted tables move to the trash, where they can be recovered during the grace period. After the grace period, deletion becomes permanent and irreversible.
How do I prevent others from deleting or renaming my table?
Use table-level permissions to control who can modify table settings. Assign viewer or editor roles to team members who should only work with data, and reserve admin roles for those who need full table configuration access.
Related content
Table operations:
- Create a table – Start with new blank or duplicated tables
- Delete a table – Remove tables and recover from trash
- Export tables – Download table data for external use
Advanced features:
- Webhooks – Automate notifications and integrations
- Table-level permissions – Control access granularly
- View customization – Configure view-specific settings
Working with data:
- Paste data into tables – Quick data entry methods
- Import into existing tables – Add bulk data
- Filter and sort – Organize your table data
Still need help? If you’re looking for something else, please feel free to make recommendations or ask us questions; we’re ready to assist you.
- Ask the Baserow community
- Contact support for questions about Baserow or help with your account.