Zapier integration
Zapier connects Baserow to thousands of apps and services, enabling you to automate repetitive tasks without writing code. Build custom workflows that execute actions in response to triggers across your entire tech stack.
Baserow doesn’t post directly to social media, but you can set up the native automation or use Zapier or Make to publish your posts automatically when you change their status in Baserow.
What you’ll need
- A Baserow account
- A free Zapier account
- A Baserow database token for authentication
Supported operations
Baserow offers comprehensive Zapier integration with triggers, actions, and searches to automate your workflows.
Triggers
Triggers start your automated workflows when specific events occur in Baserow.
| Trigger | Description | Use case |
|---|---|---|
| Row Created | Fires when a new row is added to a table | Notify team when new lead is added |
| Row Created or Updated | Fires when a row is created or modified | Sync data across multiple platforms |
| Row Updated | Fires when an existing row is modified | Track changes to project status |
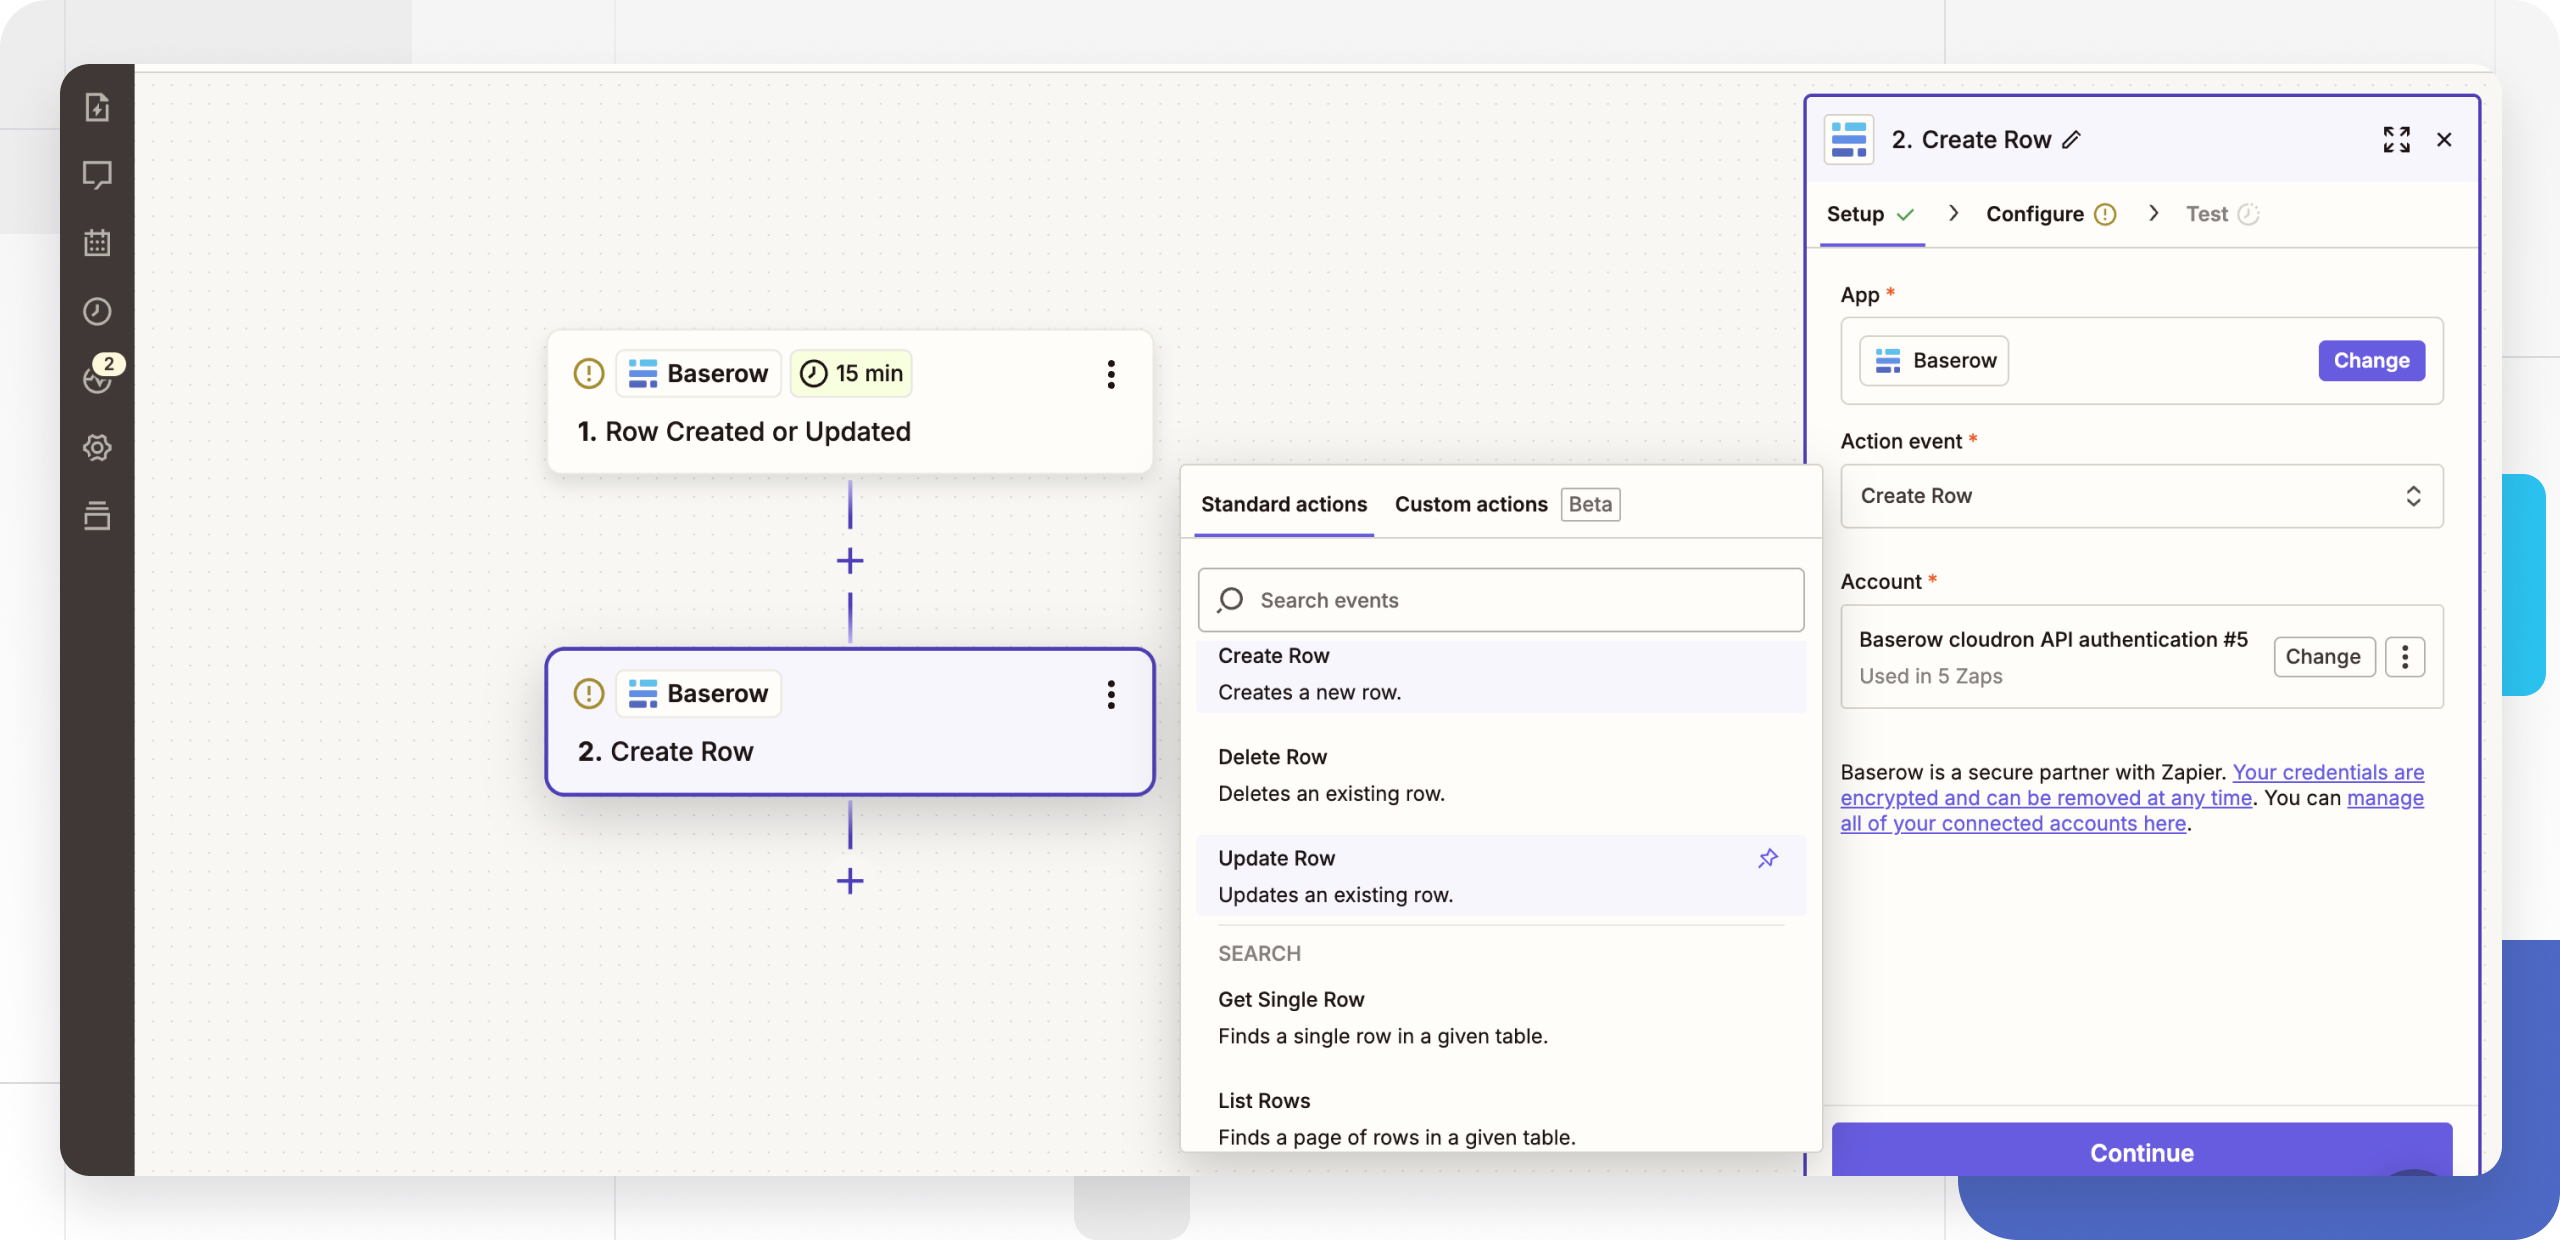
Actions
Actions are operations Zapier performs in your Baserow database.
| Action | Description | Use case |
|---|---|---|
| Create Row | Adds a new row to a table | Add form submissions to database |
| Update Row | Modifies an existing row by ID | Update customer records from CRM |
| Delete Row | Removes a row by ID | Archive completed tasks |
| Get Single Row | Retrieves one row by ID | Fetch specific record details |
| List Rows | Returns multiple rows from a table | Export filtered data to reports |
Getting started with Baserow Zaps
A Zap is an automated workflow connecting your apps. Each Zap has a trigger (what starts the workflow) and one or more actions (what happens automatically).
Authentication
Before connecting Baserow to Zapier, you need a database token for authentication.
Security note: Database tokens function like passwords. Keep them secure and never share them publicly. Store your token in a secure location immediately after creation.
Connect to Zapier
- Create or open a Zap in your Zapier account
- Search for Baserow and select it as your app
- Click Sign in or Connect a new account
- Enter your Baserow API URL:
- Cloud version:
https://api.baserow.io - Self-hosted: Your custom installation URL
- Cloud version:
- Paste your database token
- Click Continue to authenticate
Your Baserow account is now connected to Zapier and ready to use in workflows.
Finding your table ID
Most Baserow operations require a table ID. To find it:
- Open your Baserow database
- Click the three dots (…) next to any table name
- The table ID appears in brackets in the menu
Learn more about database and table IDs.
Understanding row IDs
When updating, deleting, or retrieving specific rows, you’ll need the row ID. Each row has a unique identifier displayed in the leftmost column of your table.
Learn more about row identifiers.
Frequently asked questions
How do I find my Baserow API URL?
Your API URL depends on your Baserow installation. For cloud users at baserow.io, use https://api.baserow.io. Self-hosted users should use their custom installation URL. Find your complete API documentation in your Baserow account under Settings → API documentation.
Can I trigger a Zap when any field in a row changes?
Yes, use the Row Created or Updated trigger. This fires whenever any field in a row is modified, allowing you to sync changes across systems in real-time.
What’s the difference between Get Single Row and List Rows?
Get Single Row retrieves one specific row by ID, perfect when you know which record you need. List Rows returns multiple rows based on your criteria, useful for batch operations or filtering data.
How do I filter which rows trigger my Zap?
Use Zapier’s built-in filter functionality in your Zap workflow. Add a filter step after your Baserow trigger to specify conditions that rows must meet before continuing the workflow.
Can I use Zapier with Baserow webhooks?
Yes, you can use Zapier’s Webhook trigger to receive data from Baserow webhooks for more customized automation. Learn more about Baserow webhooks.
Related resources
Integration tutorials
- Automate your workflow: Sync Google Sheets and Baserow with Zapier
- Streamline collaboration and review process with database automation
- Automate Custom Notifications from Baserow Form Submissions with Zapier
- Manage User Access to Softr in Baserow Database
- How to sync Baserow database and Excel spreadsheet with Zapier
Still need help? If you’re looking for something else, please feel free to make recommendations or ask us questions; we’re ready to assist you.
-
Contact support for questions about Baserow or help with your account