Assign roles to members at workspace level
Workspace-level roles set the default permissions each member has across all databases and tables within a workspace; creating a baseline that can be refined with database and table-level exceptions.
This guide covers how to assign, modify, and optimize workspace-level roles for individual members, understand role inheritance and precedence, and implement custom permission configurations.
Paid feature: Role-based permissions are available on Baserow Advanced and Enterprise plans. View pricing details.
Overview
When you assign a role to a member at the workspace level, that role automatically applies to everything in the workspace unless you create specific overrides at the database or table level. This creates a permission foundation that balances broad access with targeted control.
Individual member roles always take precedence over team roles. If a member belongs to teams with different roles, their individual workspace-level assignment determines their actual permissions, not their team memberships.
Learn more: Role hierarchy
Member vs. team role precedence
When a member has both individual and team-based roles, individual workspace-level assignments always take precedence over team roles.
For complete precedence rules including database and table levels, see Understanding role hierarchy.
Assign or modify member roles
Prerequisites: Before assigning roles, you must first invite members to the workspace. This article focuses on role assignment, not invitation workflows.
Assign roles during invitation
When inviting new members, you set their initial workspace-level role in the invitation dialog. Once accepted, this becomes their default role across all workspace content.
Learn more about inviting workspace members.
View current member roles
To see the roles assigned to a specific member:
- Open your workspace
- Select Members in the sidebar or access from the homepage
- The Members page displays all workspace members and their current default and highest roles
This helps troubleshoot access issues and audit permission structures.
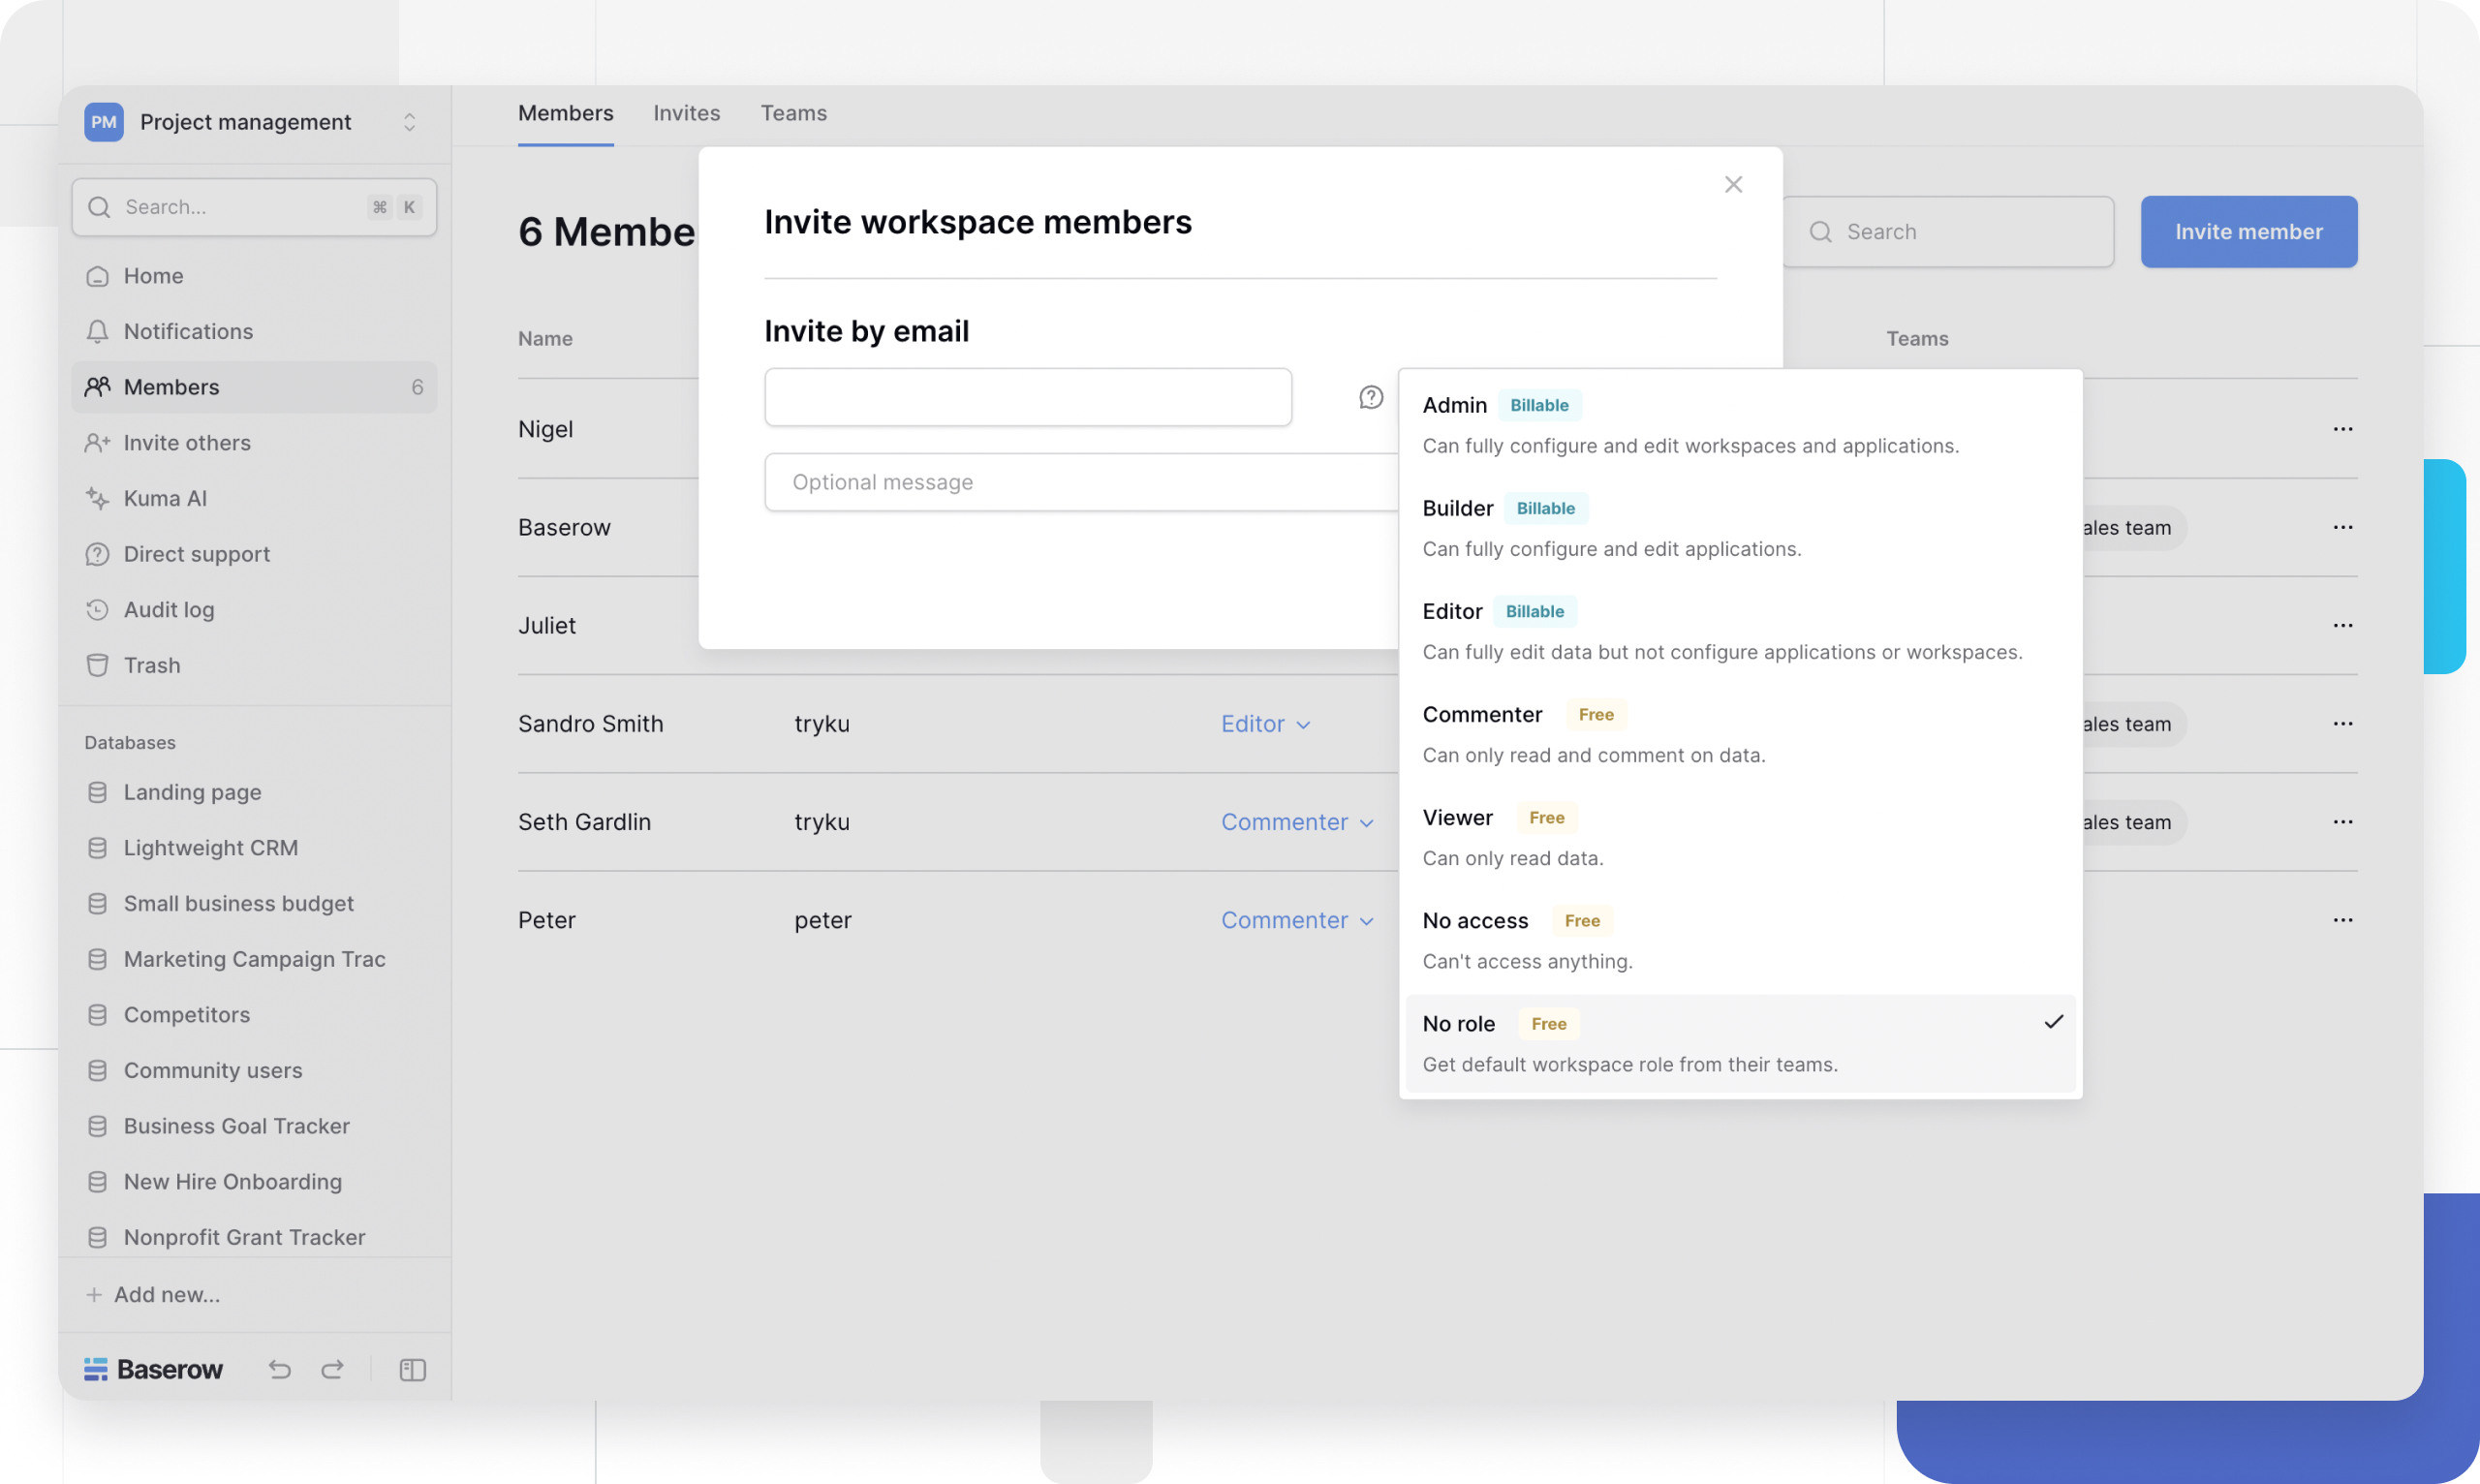
Change an existing member’s role
- On the Members page, locate the member whose role you want to change
- Click the role dropdown next to their name
- Select the new role from the list
- The change applies immediately across the entire workspace
Use the search box to quickly find specific members in large workspaces.
Track permission changes
Audit logs record role assignment changes, member additions/removals, permission override modifications, and team membership changes.
Learn more about audit logs.
Advanced role configuration strategies
Strategy 1: Broad access with exceptions
Assign generous workspace-level roles, then restrict specific areas. This is recommended with open collaboration environments where most members need wide access, and only a few sensitive databases/tables need protection
Implementation:
- Assign a broad role at the workspace level to all regular members
- Create database-level overrides for sensitive data (e.g., HR, Finance)
- Assign Viewer role or Commenter role on restricted databases
- Grant Admin access to specific members who need it
Example configuration:
All members: Editor at workspace level
  ├── HR Database: Viewer for most members, Admin for HR team
  ├── Finance Database: Commenter for department leads, Admin for finance team
  └── All other databases: Editor (inherited from workspace)
Strategy 2: Restrictive baseline with targeted grants
Assign No Role at the workspace level, grant access through teams or individual permissions. This is recommended with high-security requirements, a need-to-know access model, a contractor/consultant-heavy workforce, and compliance-driven organizations.
Implementation:
- Set all members to No Role at workspace level
- Create teams for different access patterns
- Assign team roles at the database/table level only
- Grant individual exceptions as needed
Example configuration:
All members: No Role at workspace level
  ├── Team A: Editor on Database 1
  ├── Team B: Viewer on Database 1, Editor on Database 2
  ├── External Contractors: Commenter on Project Database only
  └── Leadership: Admin on all databases via individual grants
Best practice: The “No Role” strategy provides maximum control but requires more setup.
Strategy 3: Role-based segregation
Align workspace roles with job functions or departments. This is recommended when there is a clear organizational hierarchy, functional teams with distinct responsibilities, and a need to mirror real-world organizational structure in permissions.
Implementation:
- Map job roles to Baserow roles (e.g., Analysts → Viewer, Contributors → Editor)
- Assign workspace-level role based on primary job function
- Use database/table overrides for cross-functional projects
- Leverage teams for project-specific access
Example configuration:
Executives: Admin at workspace level
Managers: Builder at workspace level
Contributors: Editor at workspace level
Analysts: Viewer at workspace level
External Partners: No Role + team-based access
Frequently asked questions
Do workspace-level roles apply to new databases automatically?
Yes. When someone creates a new database in the workspace, all members are automatically assigned their workspace-level role on that database unless you set specific overrides.
Can I assign different roles to the same member on different databases?
Yes. Workspace-level roles are defaults. You can override them at the database or table level for any member. The workspace role only applies where no overrides exist.
What’s the difference between “No Role” and removing a member?
“No Role” keeps the member in the workspace with no default access; they can still receive team-based or explicit database/table permissions. Removing a member deletes them from the workspace entirely and revokes all access.
How do I give a member admin access to one database but not others?
Keep their workspace-level role as Editor or Viewer, then add a database-level override with Admin role on the specific database they should manage.
If I change a member’s workspace-level role, what happens to their existing overrides?
Database and table-level overrides remain in place. Only areas without overrides are affected by the workspace-level role change.
Should I use workspace-level roles or team roles?
Use workspace-level roles for individual members who need consistent permissions across the workspace. Use team roles when groups of members share the same access patterns. Combine both for maximum flexibility, with individual overrides taking precedence.
Can a member with “No Role” at the workspace level still access anything?
Only if they have team memberships or explicit database/table permissions. “No Role” at the workspace level means no default access, but other permission sources can still grant access.
Related content
Permission assignment:
Understanding permissions:
Member management:
Still need help? If you’re looking for something else, please feel free to make recommendations or ask us questions; we’re ready to assist you.
-
Contact support for questions about Baserow or help with your account
- On this page
- Overview
- Member vs. team role precedence
- Assign or modify member roles
- Advanced role configuration strategies
- Frequently asked questions
- Do workspace-level roles apply to new databases automatically?
- Can I assign different roles to the same member on different databases?
- What’s the difference between “No Role” and removing a member?
- How do I give a member admin access to one database but not others?
- If I change a member’s workspace-level role, what happens to their existing overrides?
- Should I use workspace-level roles or team roles?
- Can a member with “No Role” at the workspace level still access anything?
- Related content