Create an application in Baserow
Creating a new application in Baserow allows you to build a visual frontend for your databases. You can start from a blank canvas, duplicate an existing workflow, or install a pre-configured template to get started immediately.
This guide covers how to launch custom interfaces and portals powered by your Baserow data.
Overview
Applications live inside Workspaces alongside your databases. While a database stores your information (rows and columns), an application determines how users view and interact with that information (pages, buttons, and forms).
When you create an application, you are setting up a container for your pages. You can have multiple applications in a single workspace, all connecting to the same or different databases.
Create a blank application
If you want to build a custom tool from scratch, start with a blank application.
- Navigate to the specific Workspace where you want the application to live.
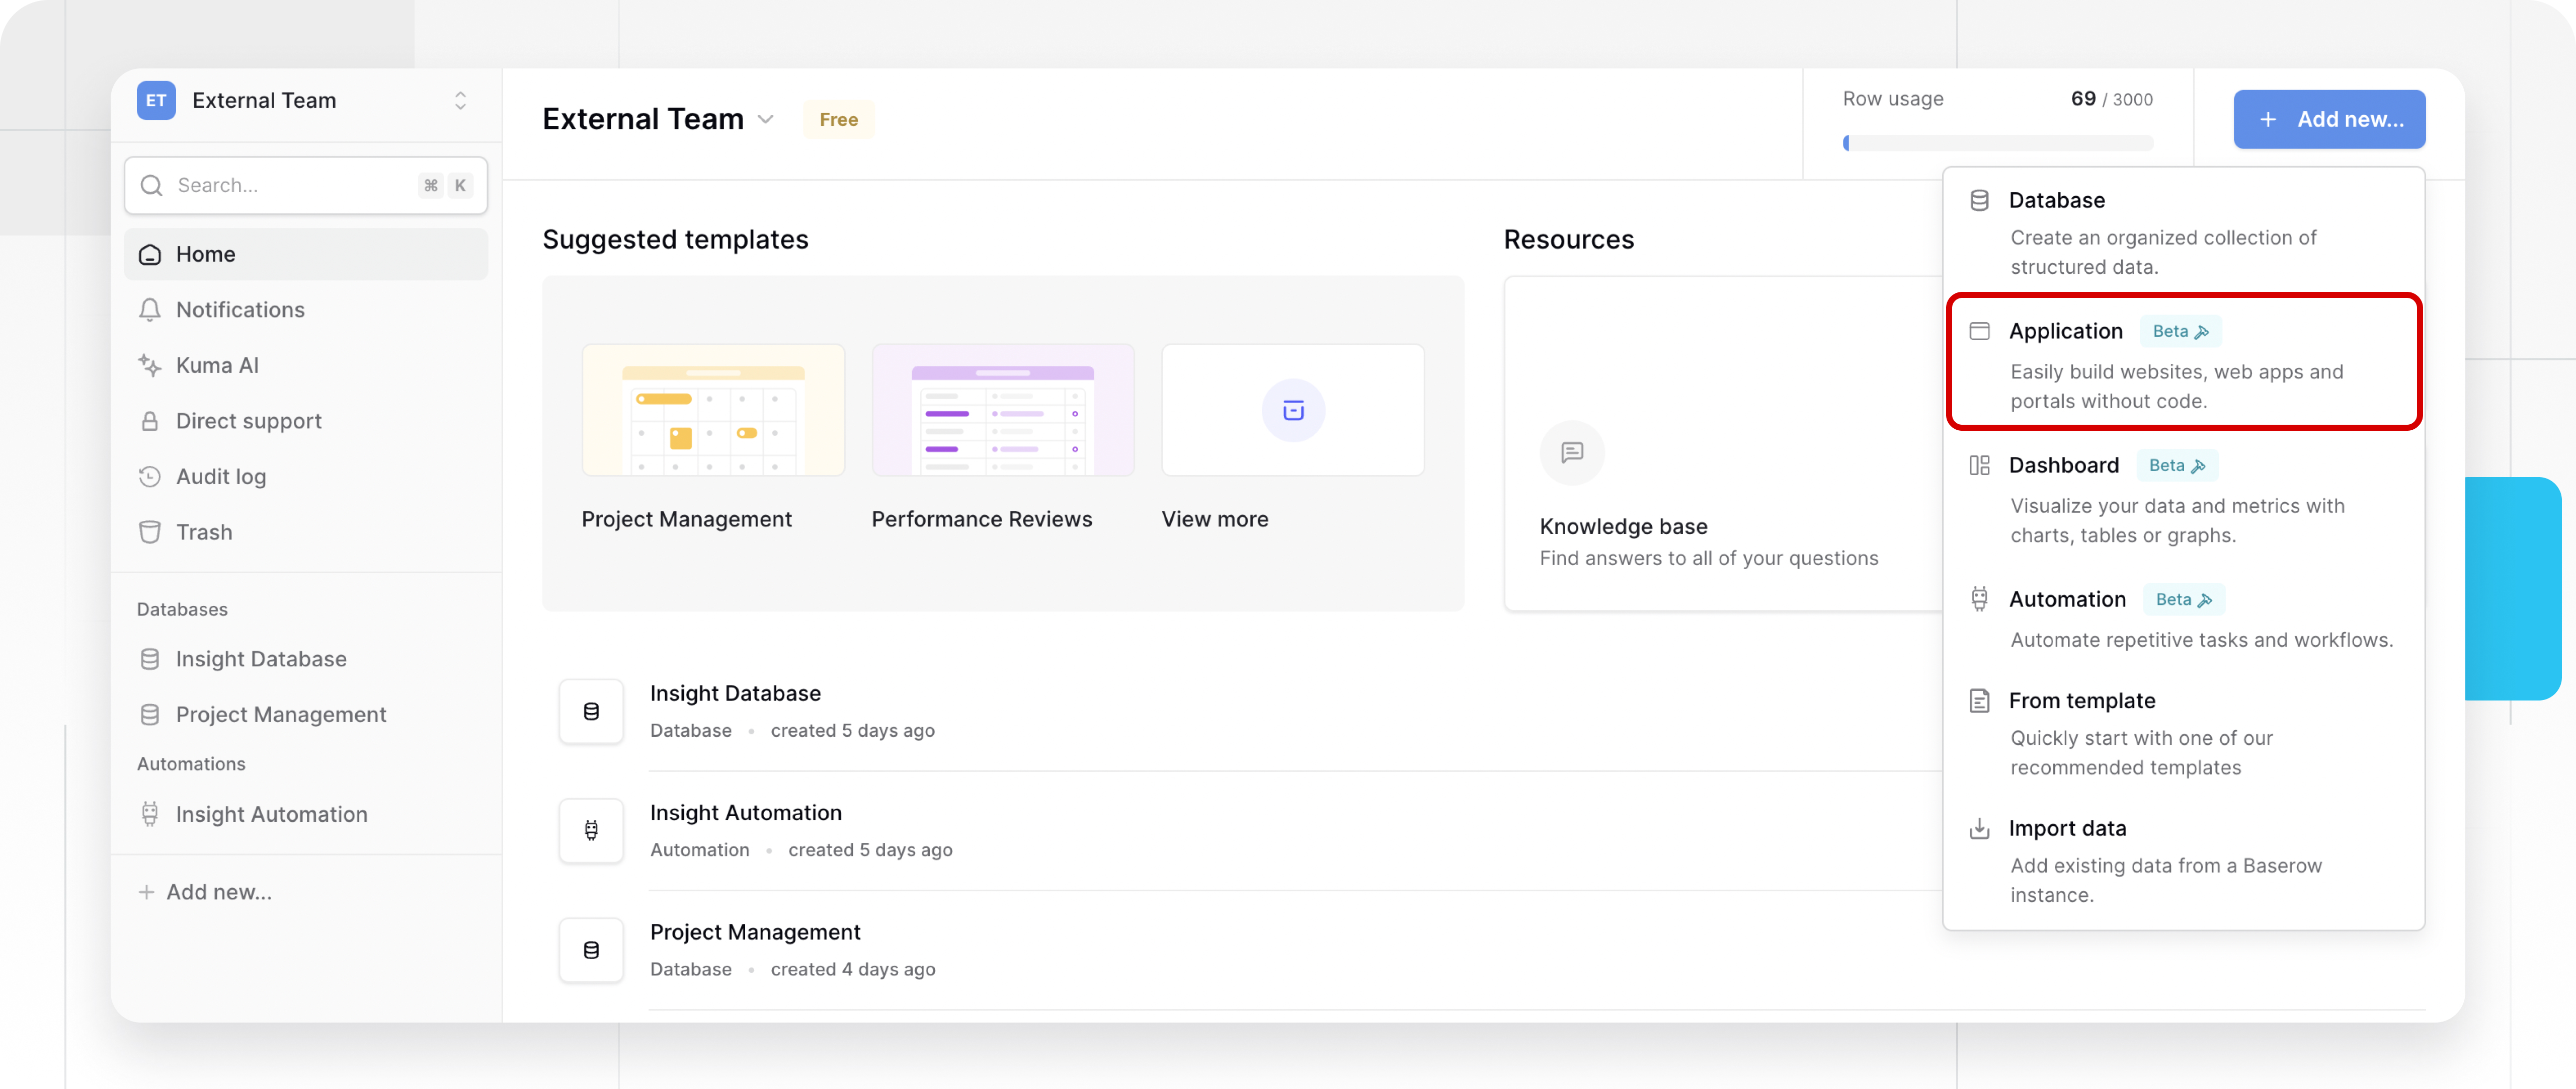
- Click the + Add new button in the home page.
- Select Application from the options (Database, Application, From template).
- Name your application. Choose a descriptive name for your internal reference (e.g., “Client Portal”).
- Note: This name is for your internal use only and will not be visible to users on the published app.
- Click Add application.
You will be redirected immediately to the Application Builder canvas, where you will see default pages and elements ready for customization.

Duplicate an application
Duplicating an application is useful for creating backups or testing changes without affecting your live production app.
- Hover your mouse over the existing application in your workspace sidebar or home page.
- Click the three dots
⋮icon next to the application name. - Select Duplicate.
You can monitor the progress of the duplication in the left sidebar. The new copy will include all pages, elements, and configuration settings from the original.
Add an application from a template
The fastest way to learn Baserow is to start with a template. You can add templates directly from your dashboard or the template library.
Template pairings
Baserow Application templates are often designed to work with specific Database templates. When you install an application template, ensure you have the corresponding data structure or install the pair together.
| Application Template | Paired Database Template |
|---|---|
| Employee Dashboard | Business Goal Tracker |
| Service Requests Manager | Commercial Property Management |
| CRM Application | Lightweight CRM |
| Task Management App | Task Management |
Learn more about installing templates to a workspace here.

Frequently asked questions (FAQ)
Is the application name public?
No. The name you give your application during creation is for your reference within the Baserow dashboard only. It does not appear on the published website.
Can I rename my application later?
Yes. You can rename your application at any time by clicking the three dots ⋮ icon next to the application name and selecting Rename.
Do I need a database before creating an application?
Technically, no. You can create a blank application without a database. However, to make the application useful (displaying dynamic content), you will need to connect it to a Baserow database eventually.
Related content
Still need help? If you’re looking for something else, please feel free to make recommendations or ask us questions; we’re ready to assist you.
- Ask the Baserow community
- Contact support for questions about Baserow or help with your account