Configure Baserow in OttoKit (formerly SureTriggers)
OttoKit offers the ability to create custom workflows that perform actions in response to specific triggers. You can seamlessly sync data from Baserow to over 600 apps using various triggers.
With OttoKit, you can connect Baserow to multiple apps and services, automating repetitive tasks without coding and creating custom automation that executes specific actions based on particular events.
What is the Baserow OttoKit integration?
OttoKit is an automation platform that connects Baserow with hundreds of popular apps and services. This integration enables you to create automated workflows that trigger actions based on changes in your Baserow databases.
With this integration, you can:
- Automatically sync data between Baserow and other apps
- Trigger notifications when database changes occur
- Create multi-step workflows that save hours of manual work
- Build complex automations without writing any code
Prerequisites
- A Baserow account and workspace.
- A OttoKit account with access to create workflows.
- Familiarity with Baserow functionalities (tables, fields, rows).
- API access to your Baserow workspace
Supported operations
Triggers
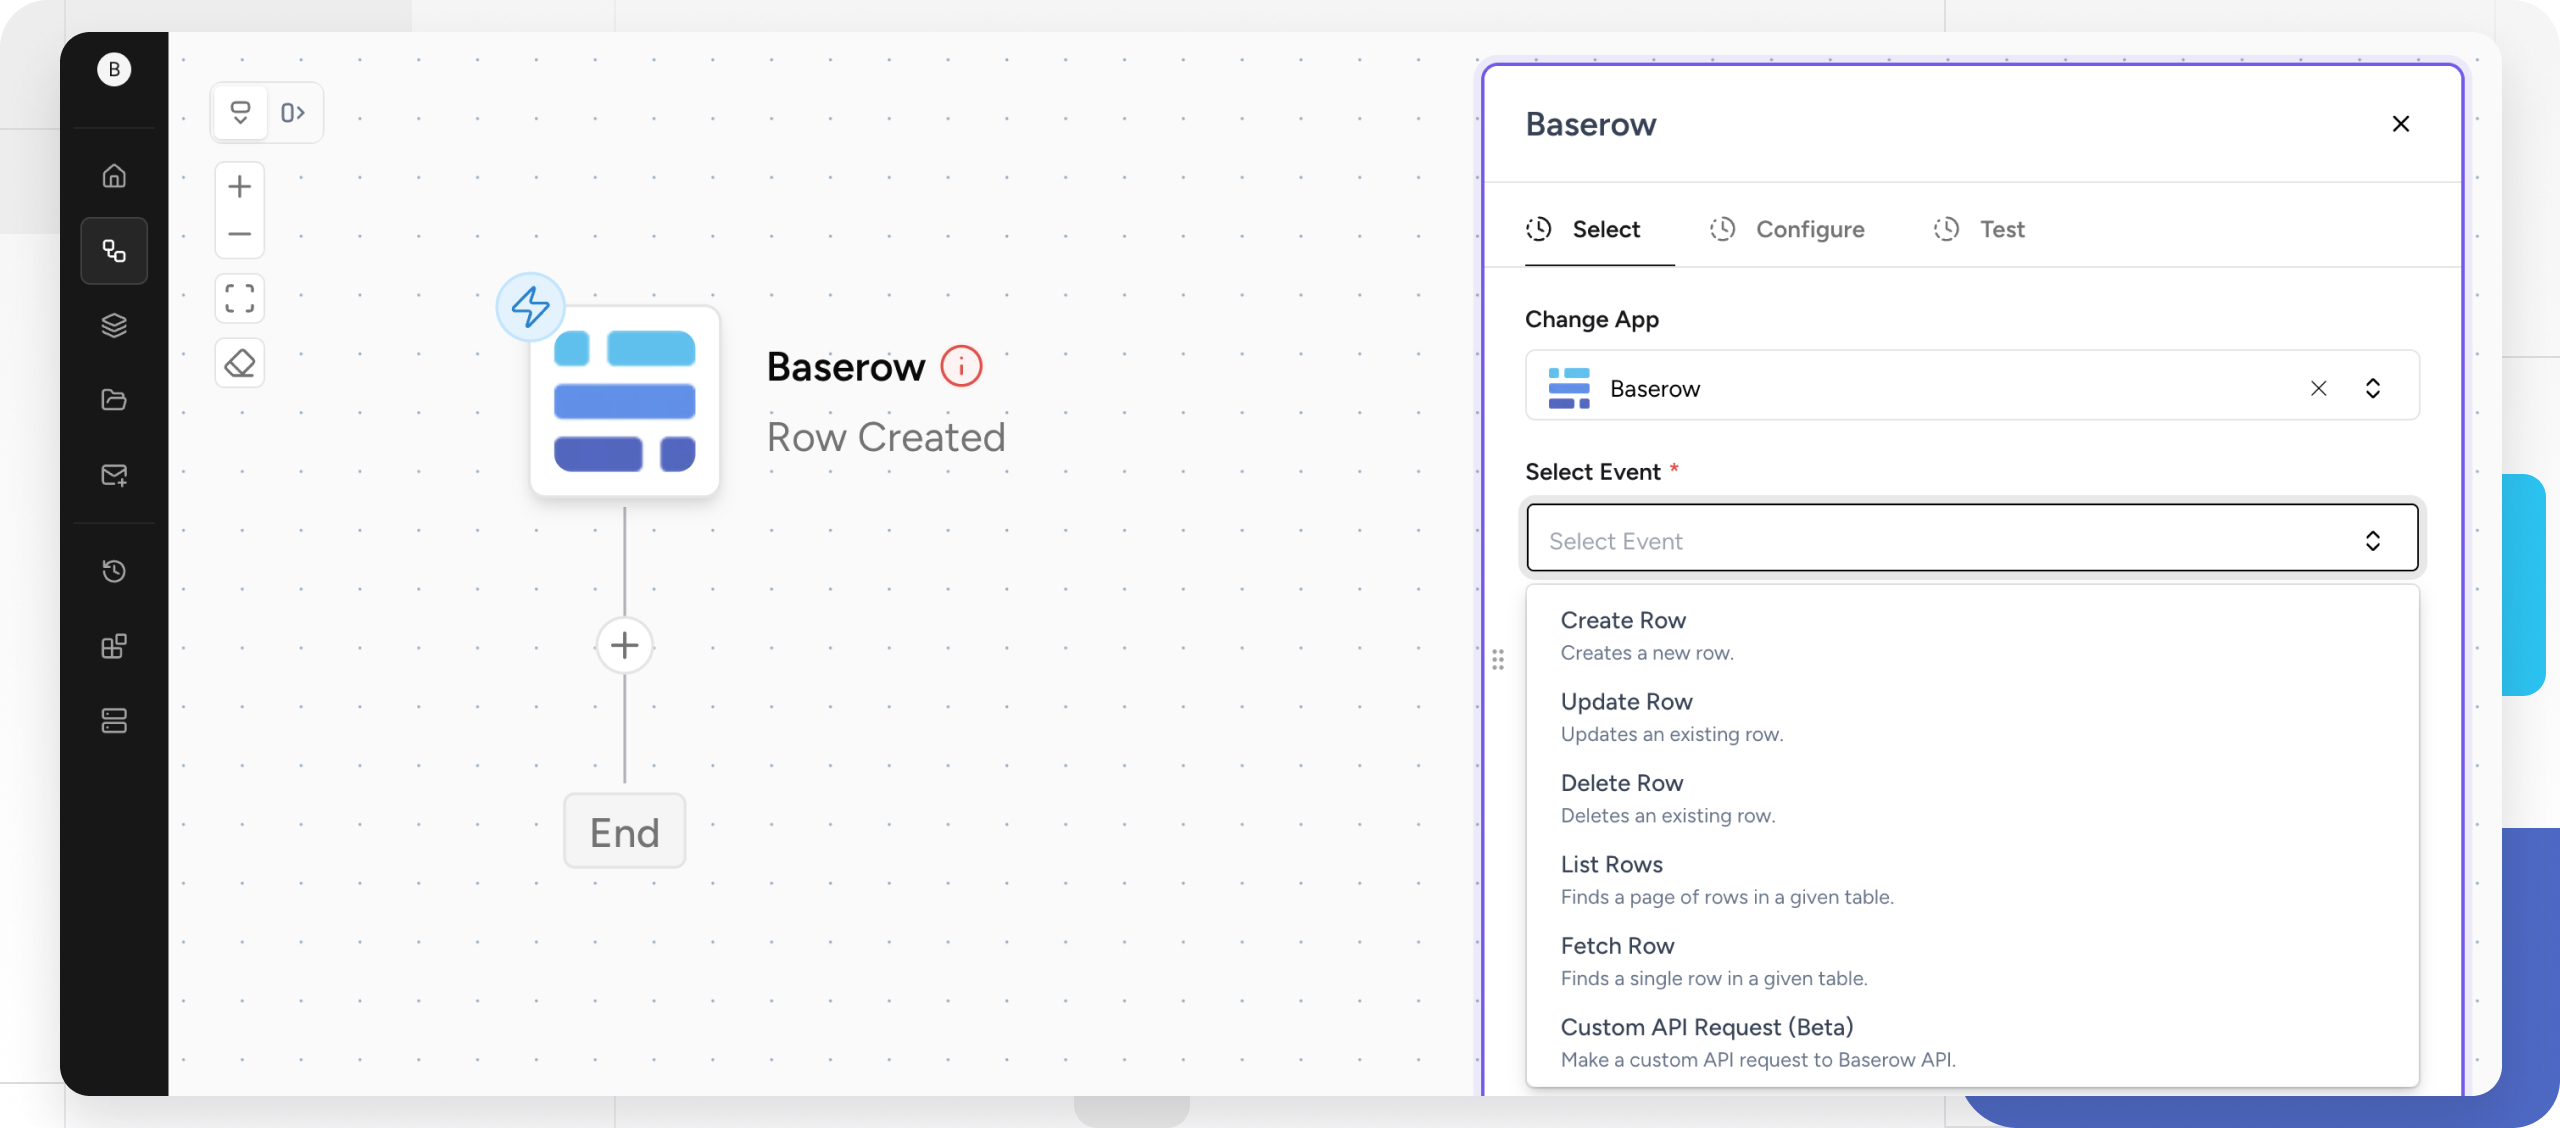
- Row Created - Runs when a new row is created.
- Row Updated - Runs when a row is updated.
- Row Deleted - Runs when a row is deleted.
Alternatively, use the Webhook app to trigger when the webhook receives data.
Actions
- Create Row - Creates a new row
- Update Row - Updates an existing row
- Delete Row - Deletes an existing row
- List Rows - Finds a page of rows in a given table
- Fetch Row - Finds a single row in a given table
- Custom API Request - Make a custom API request to the Baserow API
Configure Baserow trigger in OttoKit
Create a workflow in OttoKit. A trigger is an event that starts your workflow to streamline your processes and enhance productivity.
Select Baserow as the trigger app
Browse the available apps and choose Baserow as the trigger app. A trigger app initiates a workflow based on specific events happening within the app. In this case, Baserow will be the starting point for your automated processes.
Choose the specific event in Baserow that will initiate your workflow. Actions within Baserow, such as adding a new row, updating or deleting an existing row, will prompt a response in another application.
For more information on creating a webhook in Baserow, see the support documentation.

Configure the trigger
To configure the trigger, add the webhook URL to Baserow to send notifications to other applications.
Select POST from the Method dropdown menu in Baserow.
A typo or error in the URL will prevent Baserow from successfully communicating with other applications. Double-check the URL for any mistakes before saving the webhook configuration.
Choose the specific events that should trigger the webhook. For instance, if you want the webhook to activate when a new row is added, select the “Rows are created” checkbox.
Test the webhook functionality by clicking the Trigger test webhook button in Baserow. This will send a test message to the defined URL and display the response within Baserow.

Save and test the workflow
After selecting the trigger, OttoKit will guide you through defining the actions that follow the trigger event. These actions can involve sending data to another application, calculating, or creating notifications.
Once you’ve configured the trigger and subsequent actions, save your workflow and run a test to ensure everything functions as expected. Baserow should initiate the workflow based on the chosen trigger event.

By following these steps, Baserow will send notifications to the other applications whenever the designated events occur within your Baserow tables.
Common workflow examples
Sales & CRM workflows
- New lead to CRM: When a form submission creates a row in Baserow → Create contact in HubSpot/Salesforce
- Deal tracking: When deal status changes in Baserow → Update pipeline in CRM and notify sales team
Project management workflows
- Task creation: New row in project table → Create task in Asana/Trello/Monday.com
- Status updates: When status field changes → Send Slack notification to team
E-commerce workflows
- Order processing: New order row → Send confirmation email + Create shipping label
- Inventory sync: When stock level changes → Update WooCommerce/Shopify inventory
Marketing workflows
- Email campaigns: New subscriber row → Add to Mailchimp list + Send welcome email
- Content calendar: When publish date arrives → Post to social media platforms
Frequently asked questions
Can I generate a database token in Baserow?
Yes, Baserow database tokens provide similar functionality to login credentials, but they provide additional security and flexibility. A token, like your username and password, should be kept secure and handled with the utmost confidentiality. Do not share it with others or expose it.
Can I filter which rows trigger my workflows?
Yes, when you add the webhook URL to Baserow settings, you can specify which events should trigger the workflow. For more information on creating a webhook in Baserow, see the support documentation.
How fast do triggers fire?
OttoKit checks for new triggers every 1-15 minutes depending on your plan.
Troubleshooting common issues
| Issue | Solution |
|---|---|
| Connection failed | Regenerate API token and ensure it has correct permissions |
| Workflows not triggering | Check filter conditions and ensure table/field names match exactly |
| Missing data in actions | Verify field mappings and data types are compatible |
| Rate limit errors | Upgrade plan or implement delays between actions |
| Duplicate entries | Add deduplication logic using OttoKit’ filter conditions |
Related content
- Webhooks - Learn about real-time triggers
- Database API documentation - Understand API capabilities
- Zapier integration - Compare with Zapier automation
- Make integration - Explore Make.com integration
- n8n integration - Set up self-hosted automation
- Baserow database tokens - Manage API access
Still need help? If you’re looking for something else, please feel free to make recommendations or ask us questions; we’re ready to assist you.
- Ask the Baserow community
- Contact support for questions about Baserow or help with your account.