Set up a workspace in Baserow
Create workspaces to organize your databases, applications, and team collaboration. Learn how to create, name, configure, and manage workspaces effectively.
Overview
Workspaces are the foundation of your Baserow organization, every database, application, dashboard, and automation lives inside a workspace.
Creating a workspace is the first step toward building your data infrastructure. This guide walks through workspace creation, configuration, and management to help you establish effective organizational structures.
Plan your workspace structure
A workspace is an organized, collaborative environments for your team. Before creating a workspace, consider:
What will this workspace contain?
- Related databases that need to link together
- Applications built from those databases
- Dashboards monitoring the data
- Automations connecting everything
Who needs access?
- Team members who will collaborate
- Their required permission levels (admin, builder, editor, viewer)
- External stakeholders or clients
How will it fit with other workspaces?
- Separate by department, project, or client
- Keep related work together
- Use clear naming conventions for easy identification. Choose workspace names that are descriptive and clearly indicate the workspace purpose, consistent, and specific. Good examples: “Marketing - Campaign Management”, “Sales Operations 2025”, “Client: Acme Corp”, “Product Development”. Avoid: “Workspace 1”, “Test”, “My Stuff”, and overly long names that get truncated.
Learn more about workspace organization strategies →
Create a workspace
Creating a workspace automatically makes you the workspace admin with full control. When you create a new workspace, you become the workspace admin with full permissions and can invite collaborators.
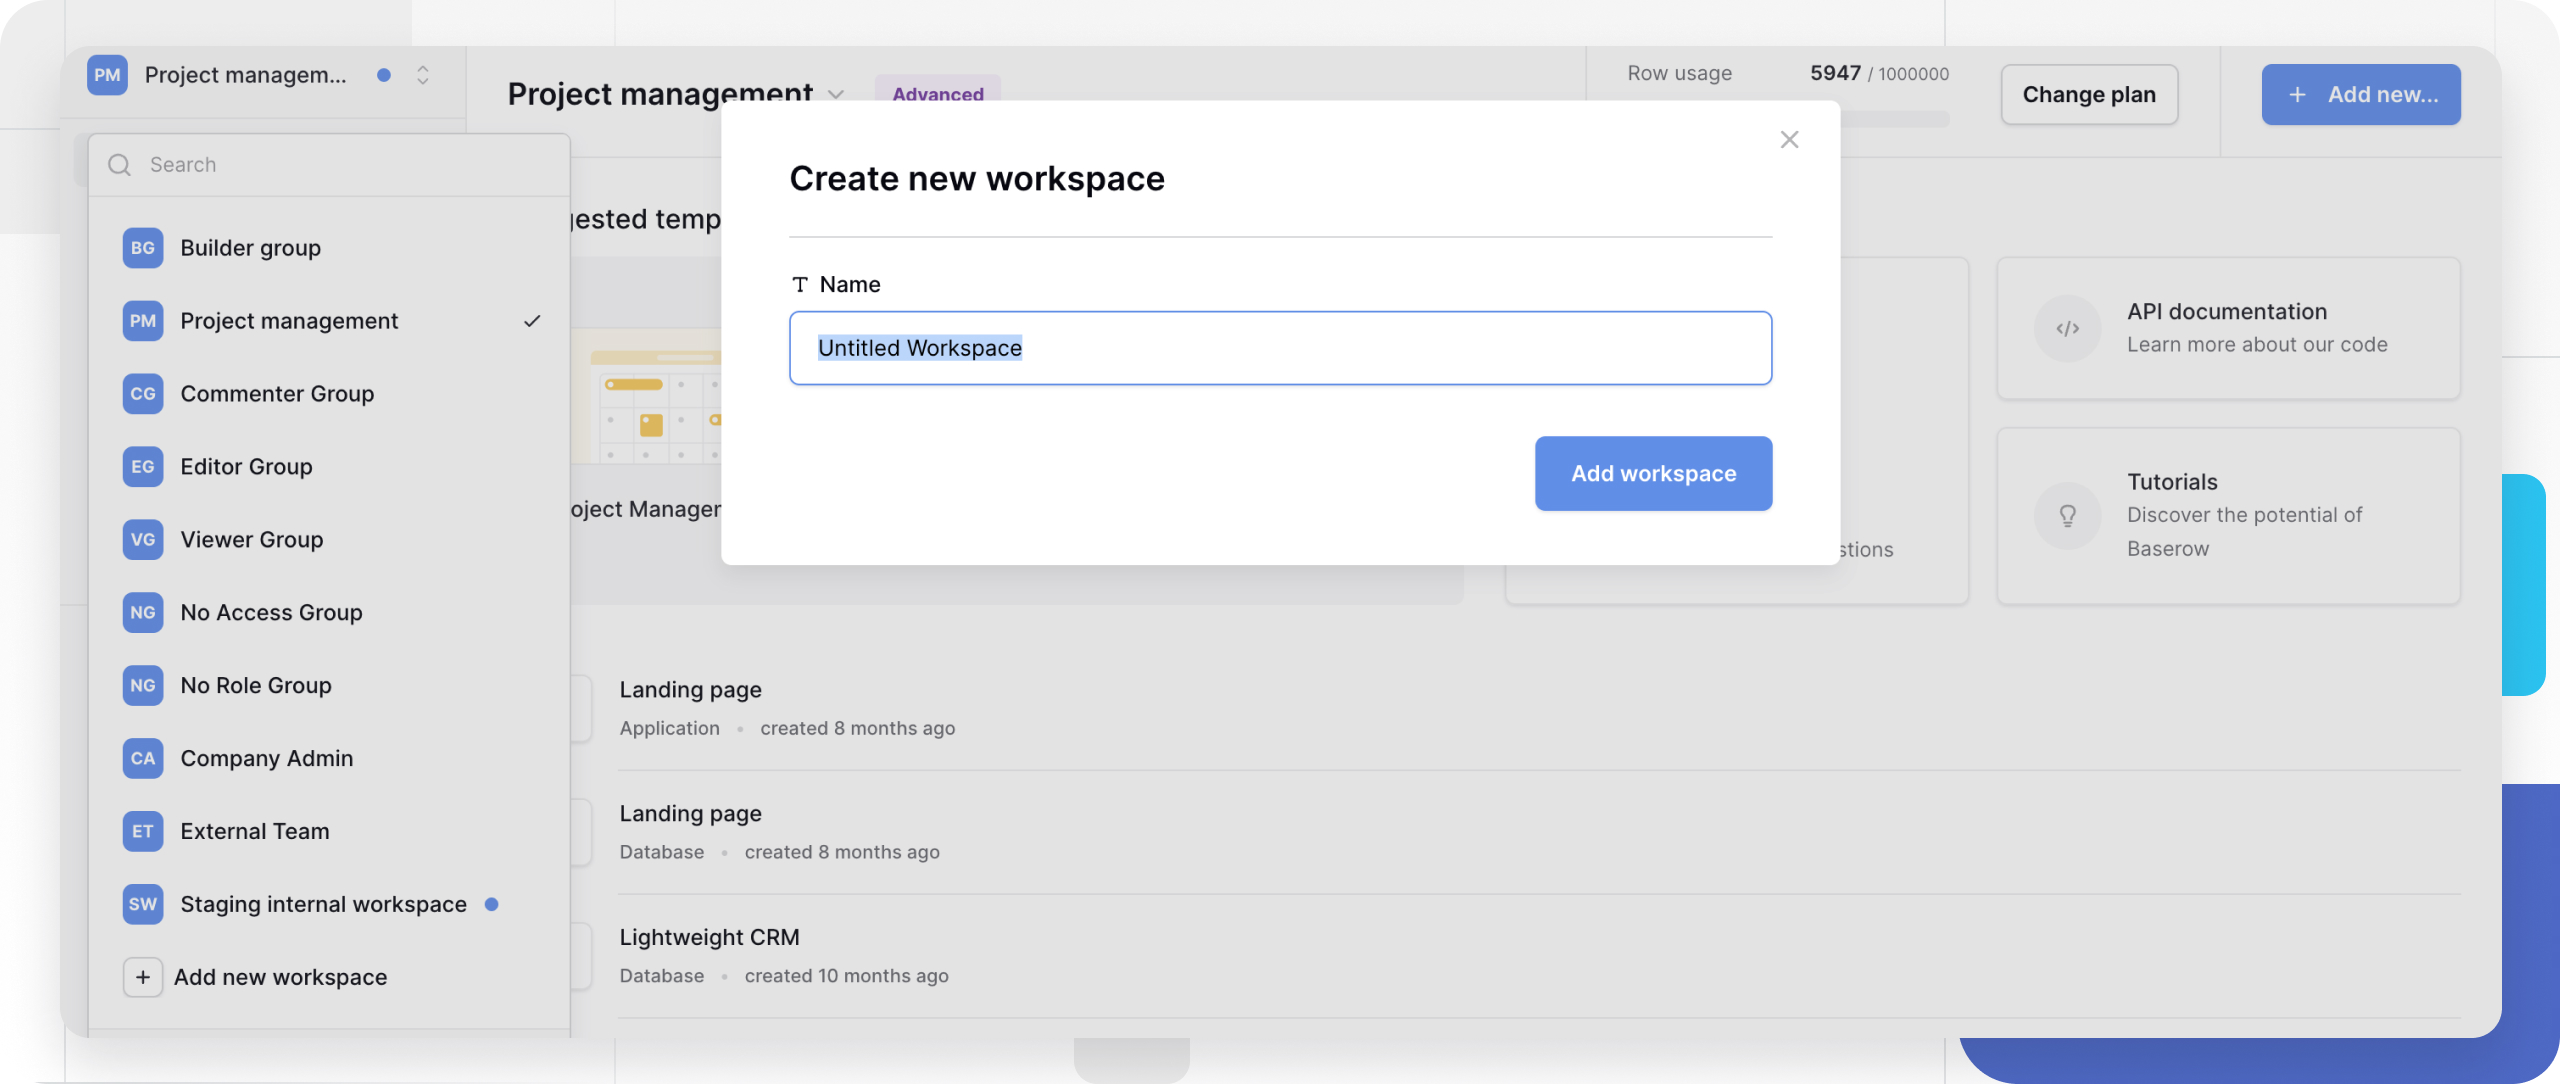
- Navigate to your Baserow home page
- Click on your workspace in the top-left corner and click Add new workspace.
- Enter a descriptive name for your workspace
- Click Enter or click outside the name field to save
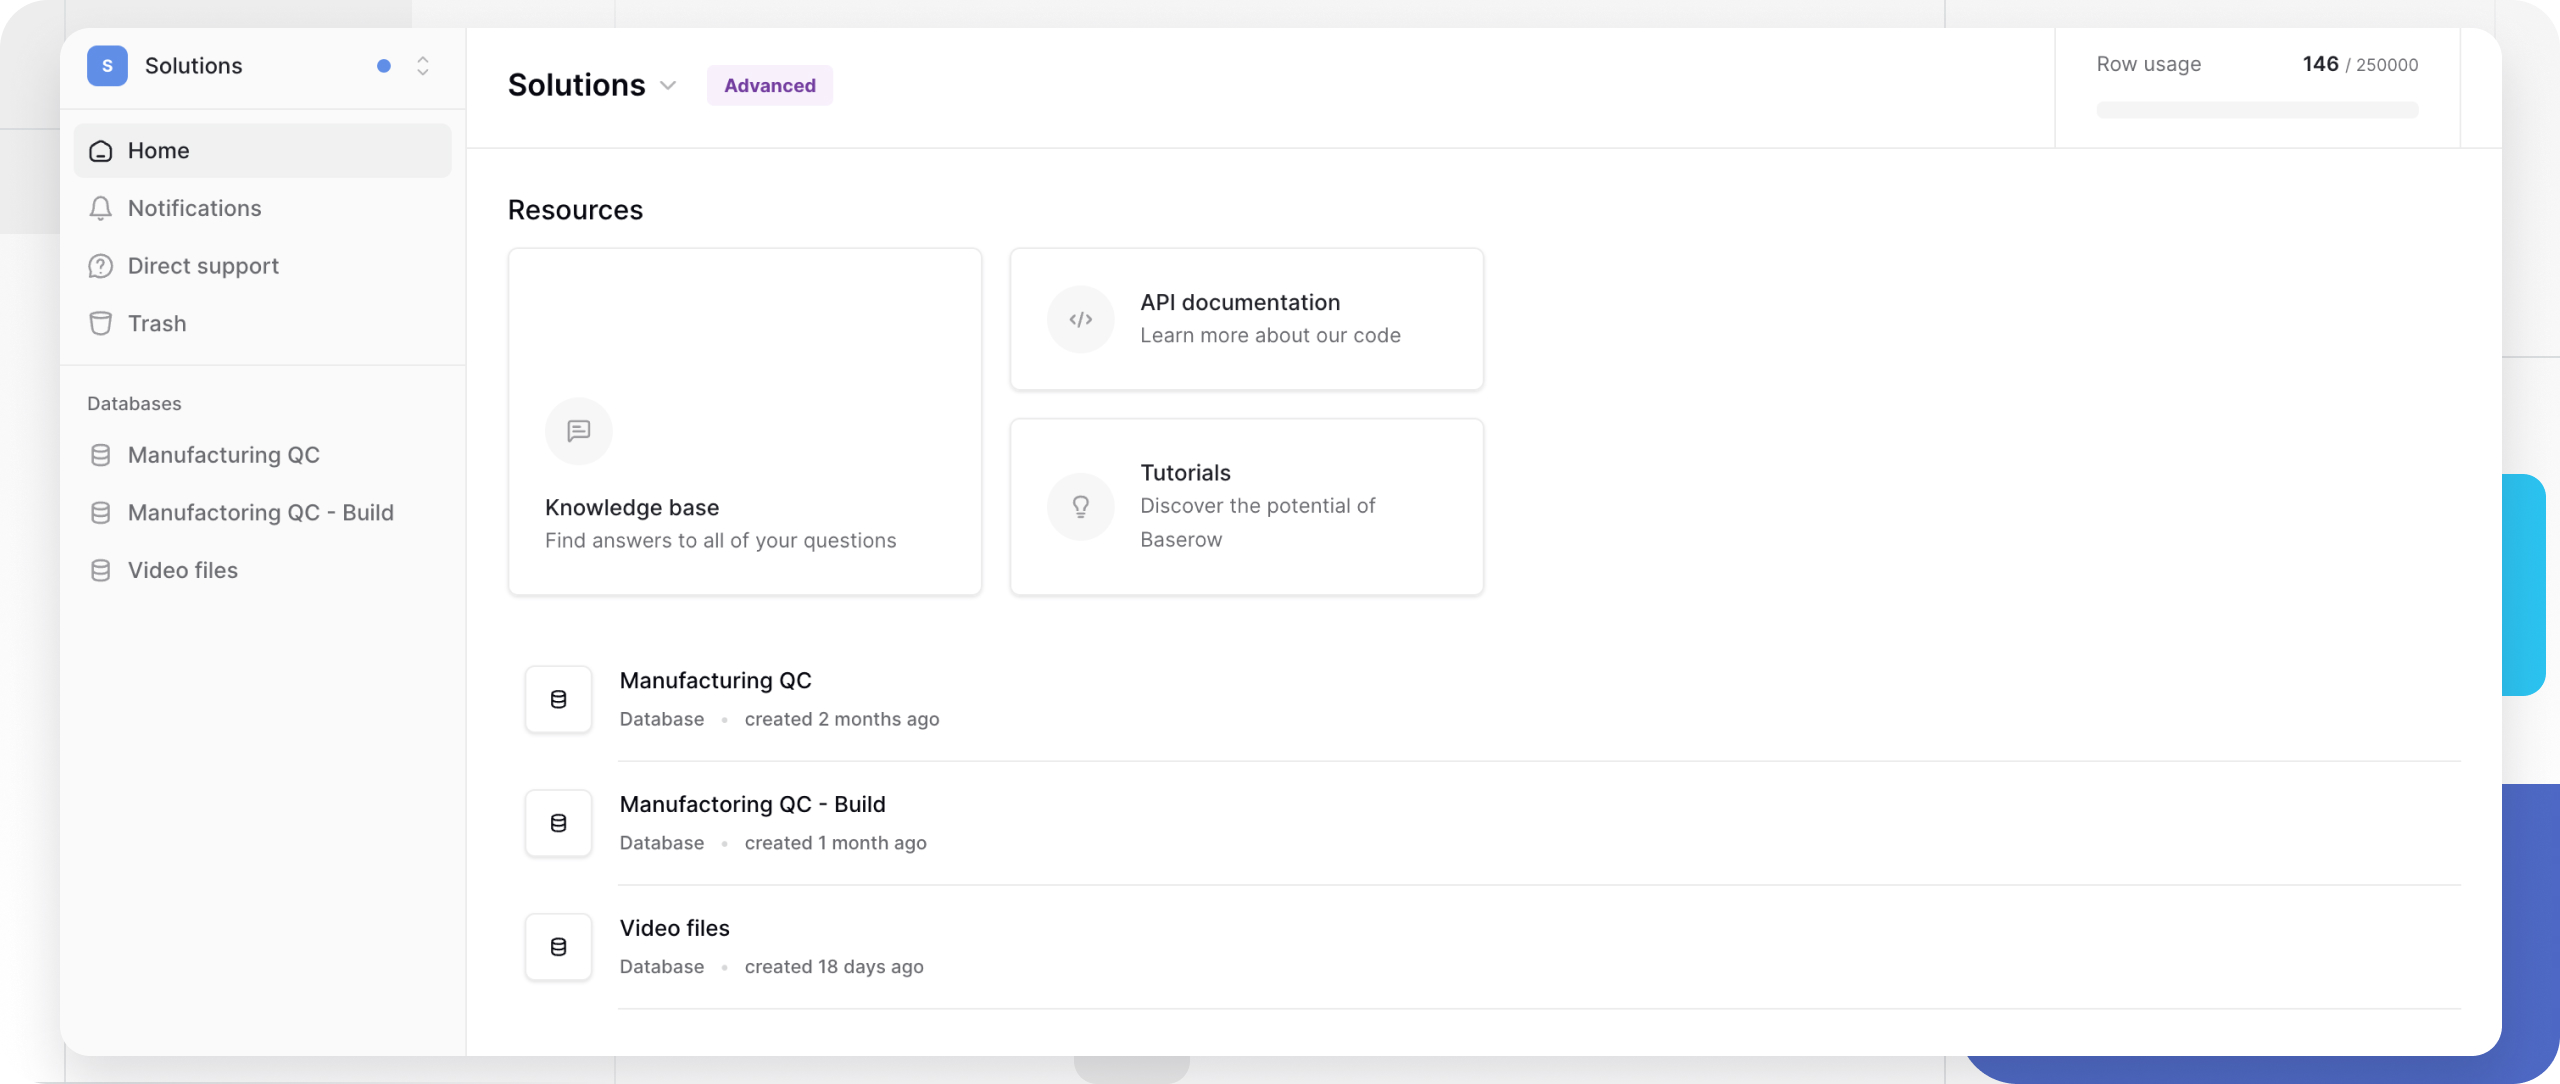
The workspace is empty and ready for databases, applications, and more. You can start building by adding databases or templates
Configure workspace
To access workspace configuration options, navigate to the home page, click the workspace dropdown menu.
From the workspace menu options, you can:
- Rename the workspace
- Export or import data
- Invite, manage members, and adjust workspace permissions
- Configure settings
- Delete the workspace if needed
- View trash
- Leave the workspace
Only workspace admins can fully configure workspaces. Members with other roles can export data or leave a workspace.
Rename a workspace
Workspace names can be changed at any time by workspace admins. Use consistent naming across workspaces. If your organization has multiple workspaces, establish and follow naming conventions for easy identification and navigation.
To rename a workspace:
- In the home page, click the workspace dropdown menu
- Select Rename workspace from the menu
- Enter the new name
- Press Enter to save
Renaming a workspace doesn’t affect any databases, applications, member access, permissions, API connections, integrations, or shared views.
Manage workspace access
After creating a workspace, you’ll likely want to add team members. Invited members receive email notifications with instructions to join your workspace. Complete guide to inviting collaborators →
Next, set permissions and roles. Assign roles based on what each team member needs to do. Understanding workspace permissions →
Review workspace members periodically, especially after project completions, team member role changes, or external collaborator engagements end.
Add content to your workspace
Once your workspace is created, start building:
- Add a database: Click + Create new → Select Database → Choose to start from scratch or use a template → Begin adding tables and fields.
- Build an application: Click + Create new → Select Application → Design pages and add elements → Connect to your database data.
- Create a dashboard: Click + Create new → Select Dashboard → Add widgets and connect data sources → Monitor your key metrics
- Set up automations: Click + Create new → Select Automation → Configure triggers and actions → Automate workflows
Frequently asked questions
Can I create workspaces without being invited by someone?
On Baserow Cloud, anyone with an account can create workspaces by default. On Self-hosted instances, the Instance Admin controls whether new users can create workspaces. If you can’t create a workspace, contact your Instance Admin.
How many workspaces can I create?
There’s no limit on workspace creation.
What’s the difference between Workspace Admin and Instance Admin?
A workspace admin manages a specific workspace (members, databases, settings). An Instance Admin (Self-hosted only) manages the entire Baserow installation (all users, all workspaces, system settings). One person can have both roles.
Can I transfer a workspace to someone else?
You can make someone else a workspace admin, but workspaces don’t have a single “owner.” Best practice is to ensure every workspace has at least two admins to prevent access issues if one admin leaves.
What happens if I delete a workspace?
Deleting a workspace removes all its contents (databases, applications, dashboards, automations). Export any important data before deletion. Restore deleted items from the past 3 days.
Can I move databases between workspaces?
Not directly. You must export the database from one workspace and import it into another. This creates a copy; the original remains until you delete it.
Do I need to create a workspace before creating databases?
Yes. Every database must belong to a workspace. If you’re a new user, create a workspace first, then add databases to it.
Can workspace names be duplicated?
Yes. You can have multiple workspaces with the same name (not recommended). Use unique, descriptive names to avoid confusion.
Troubleshooting
I can’t create a workspace on Self-hosted
The Instance Admin may have disabled workspace creation for new users. Contact your Instance Admin to either enable workspace creation for all users, invite you as a collaborator to an existing workspace, or create a workspace on your behalf.
My workspace name is truncated in the sidebar
Very long workspace names get abbreviated in the interface. Rename the workspace with a shorter, clearer name. Aim for 30 characters or less for full visibility.
I can’t see the workspace configuration option
Only workspace admins can access all configuration options. If you need to modify workspace settings, ask a workspace admin to either grant you admin permissions or make the changes for you.
New members can’t see databases I created
Table-level or database-level permissions may be restricting access. Check permissions at the database and table level, or verify the member’s workspace role is appropriate.
Related content
Getting started
Managing workspaces
- Invite collaborators to a workspace
- Manage workspace permissions
- Leave a workspace
- Delete a workspace
Building in workspaces
Administration
Still need help? If you’re looking for something else, please feel free to make recommendations or ask us questions; we’re ready to assist you.
-
Contact support for questions about Baserow or help with your account
- On this page
- Overview
- Plan your workspace structure
- Create a workspace
- Configure workspace
- Add content to your workspace
- Frequently asked questions
- Can I create workspaces without being invited by someone?
- How many workspaces can I create?
- What’s the difference between Workspace Admin and Instance Admin?
- Can I transfer a workspace to someone else?
- What happens if I delete a workspace?
- Can I move databases between workspaces?
- Do I need to create a workspace before creating databases?
- Can workspace names be duplicated?
- Troubleshooting
- Related content